Copilot for Dynamics 365 Sales is in Preview at the point of writing this post. Hence, I’ll start by showing how you can turn Copilot for Dynamics 365 Sales on for your environment.
It is recommended to do this in your Sandbox instances first.
Enable Copilot for Dynamics 365 Sales
Given that you have the correct licenses setup and you are a System Administrator, you can follow the below steps in order to enable Copilot for Dynamics 365 Sales –
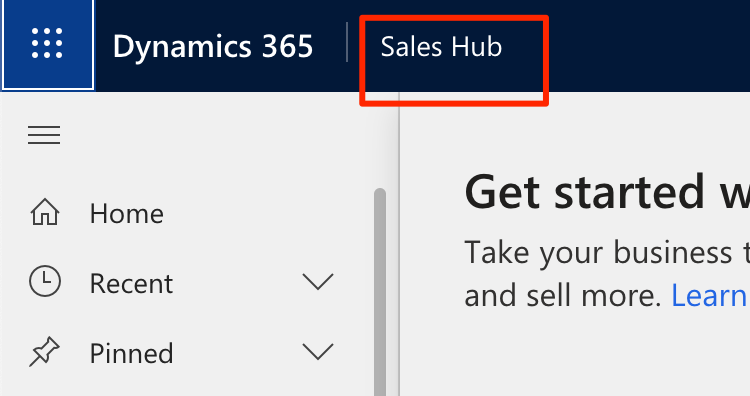
- Make sure you are in the Sales Hub app.
- And then go to the App Settings
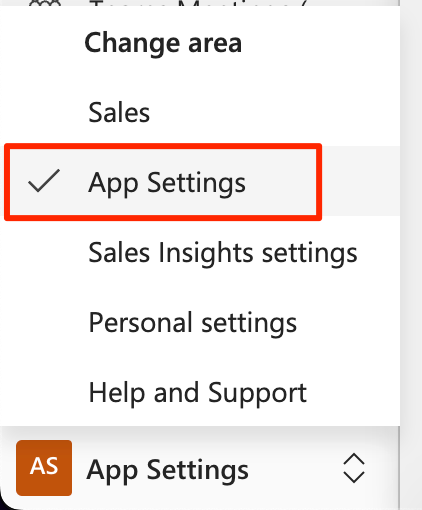
- Here, you’ll see the Copilot as an option on the Sitemap, select that.
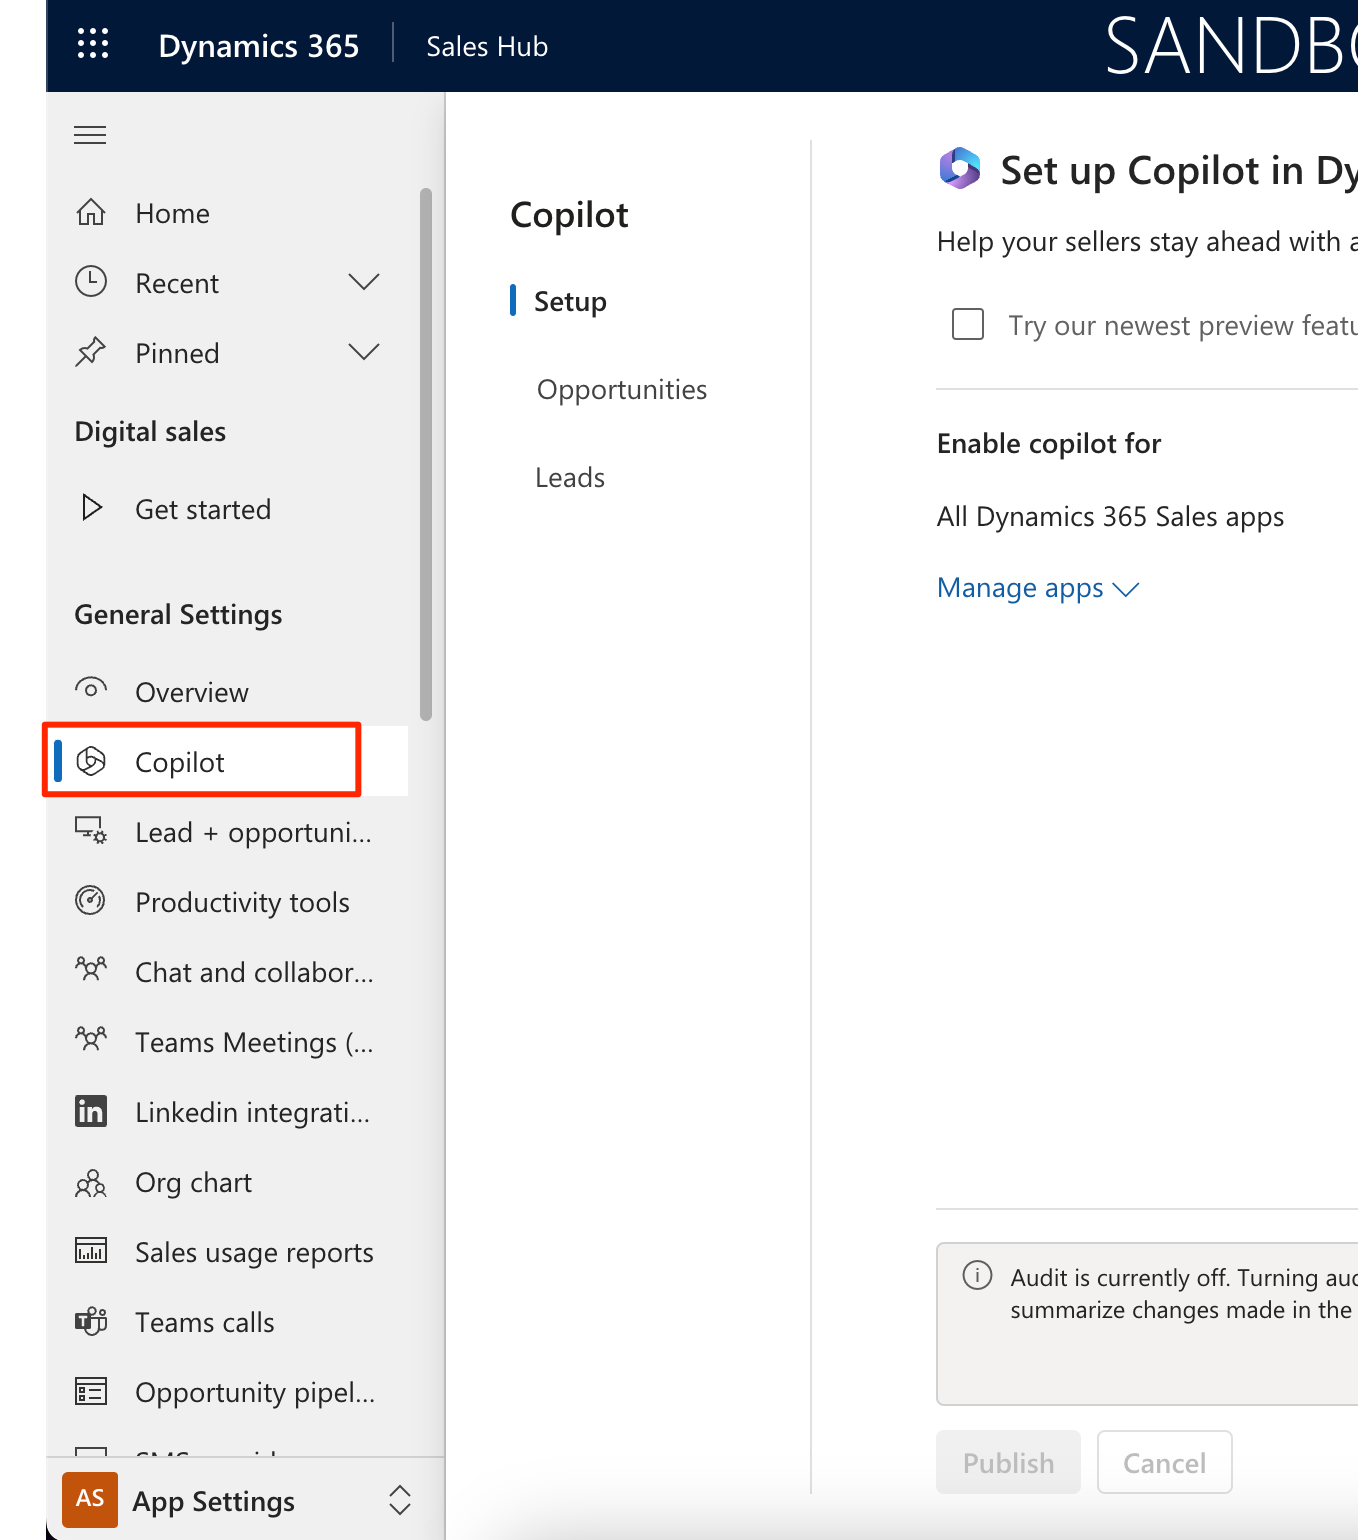
- Note that all the Settings are turned off by default.
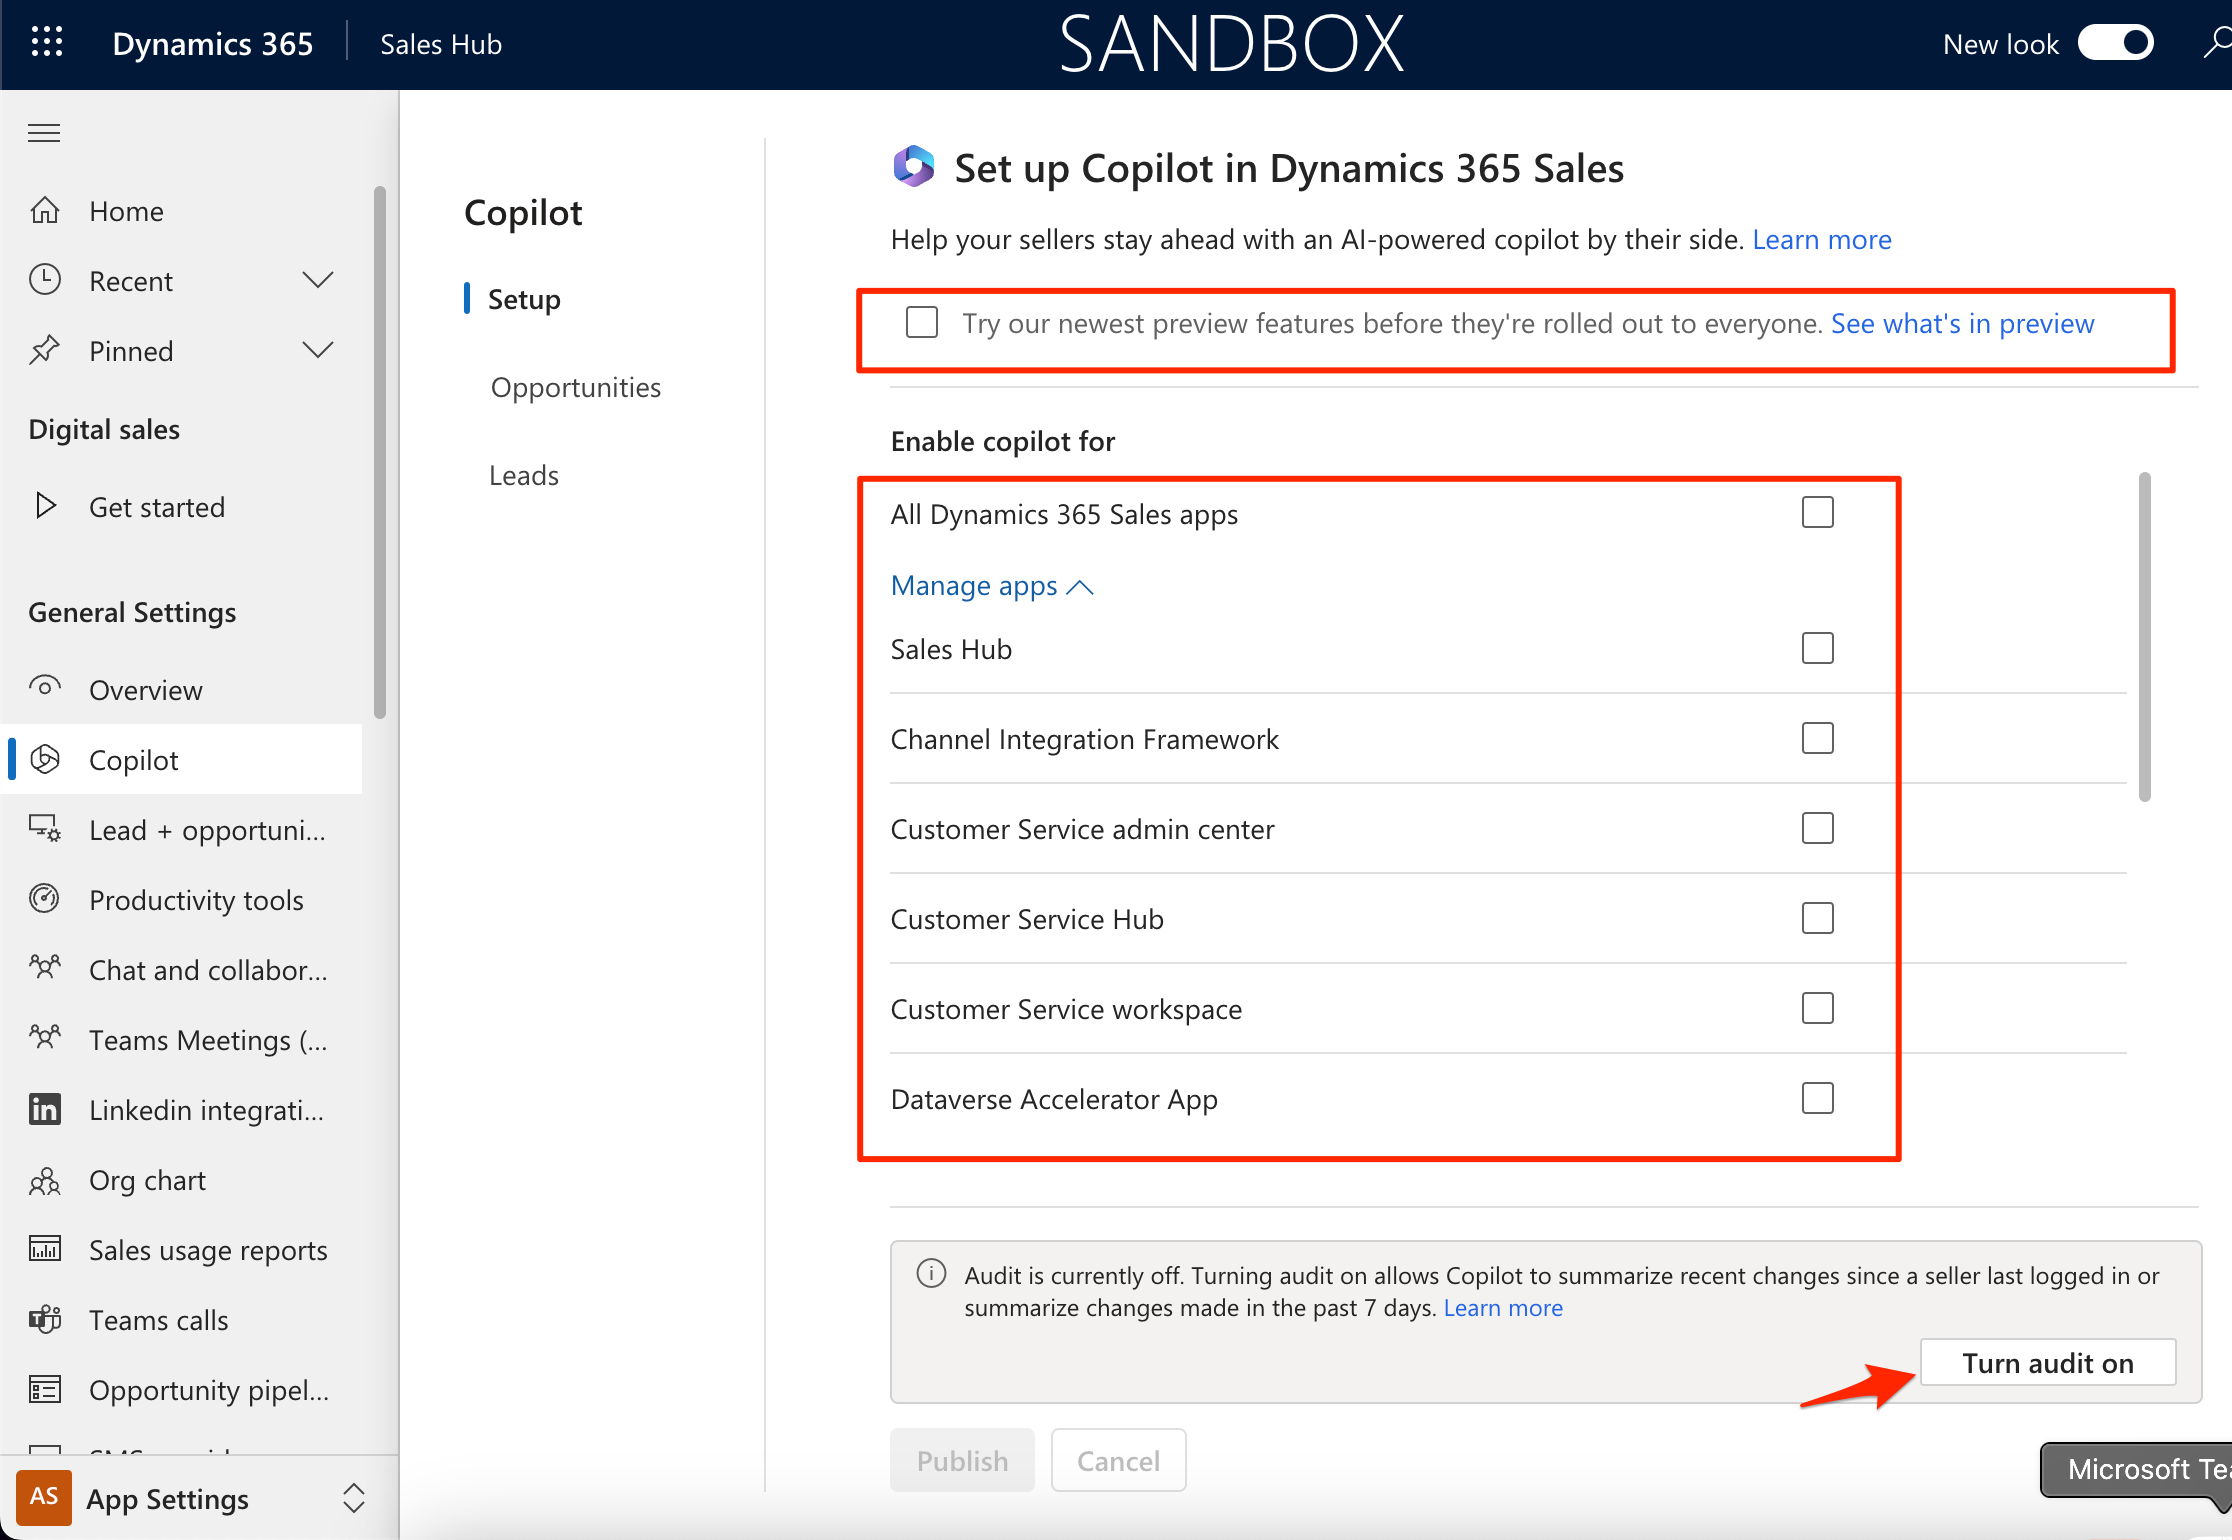
- First thing you can do is, turn Auditing On. It’ll take a while to Save the changes in the background.
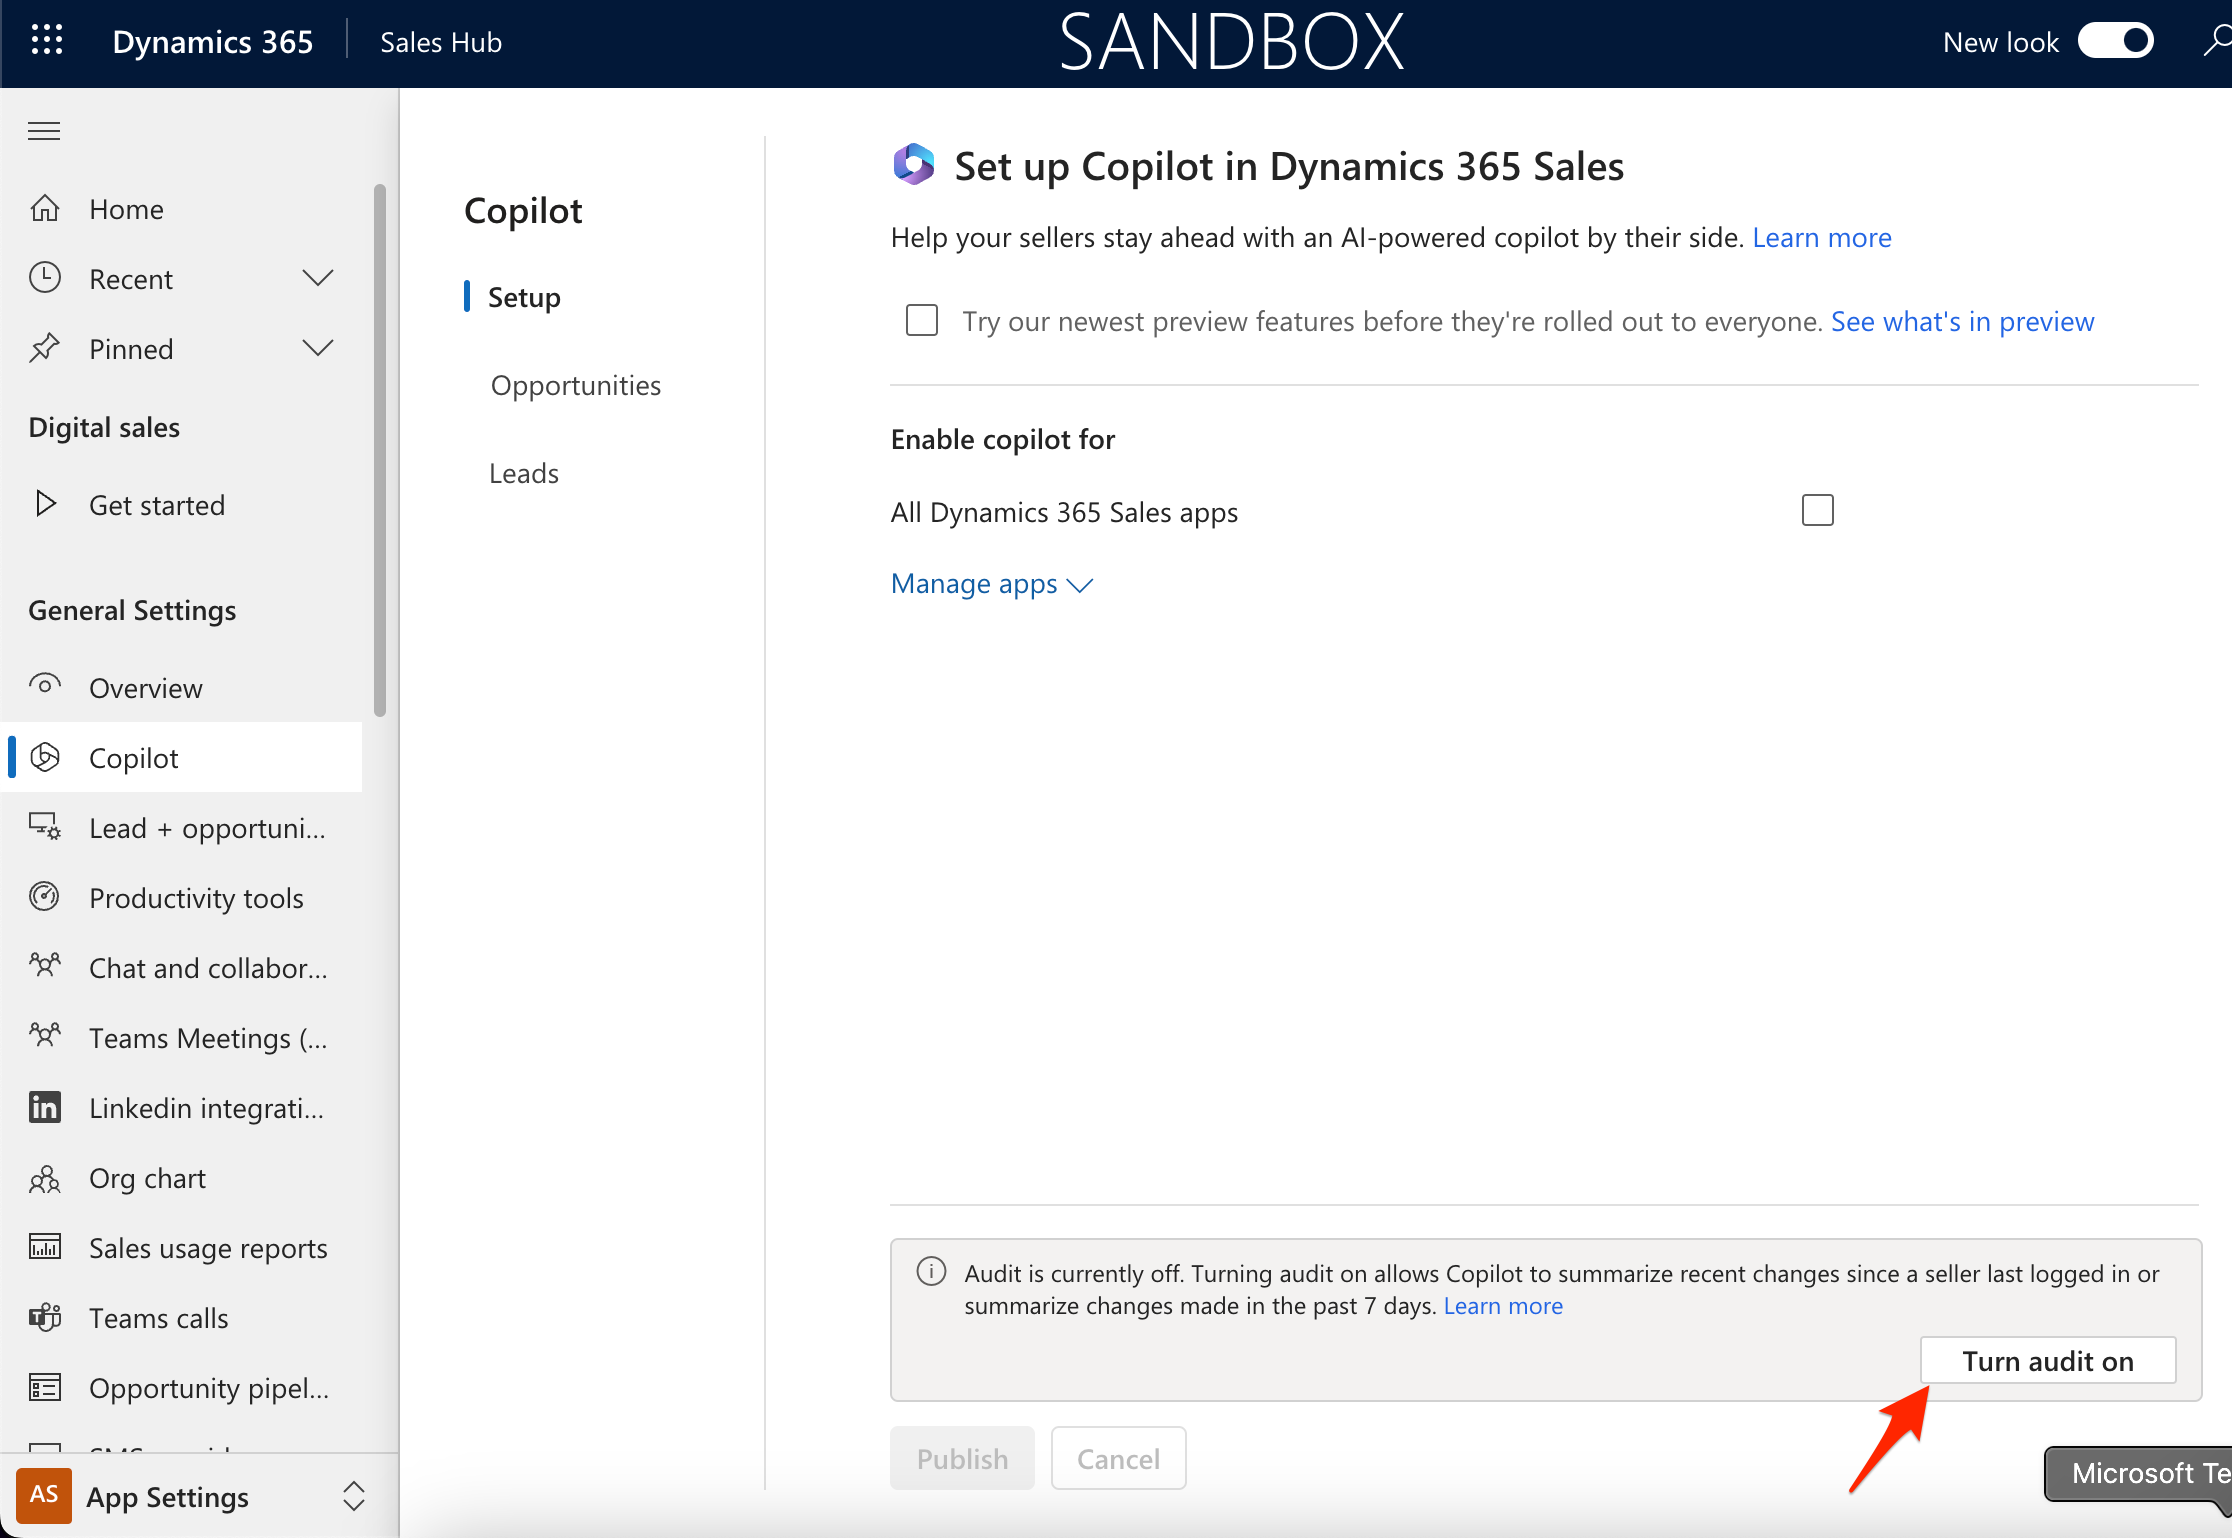
- Then, you can turn on other features which are in Preview On and enable the Copilot App based on your Published apps in your environment.

- Here are the Preview features which are listed under the See what’s in preview link in the above screenshot – https://learn.microsoft.com/en-gb/dynamics365/sales/view-copy-email-summary
- Once the changes are saved, it’ll look like this in the Published state. the selections will remain the Publish button will be disabled.
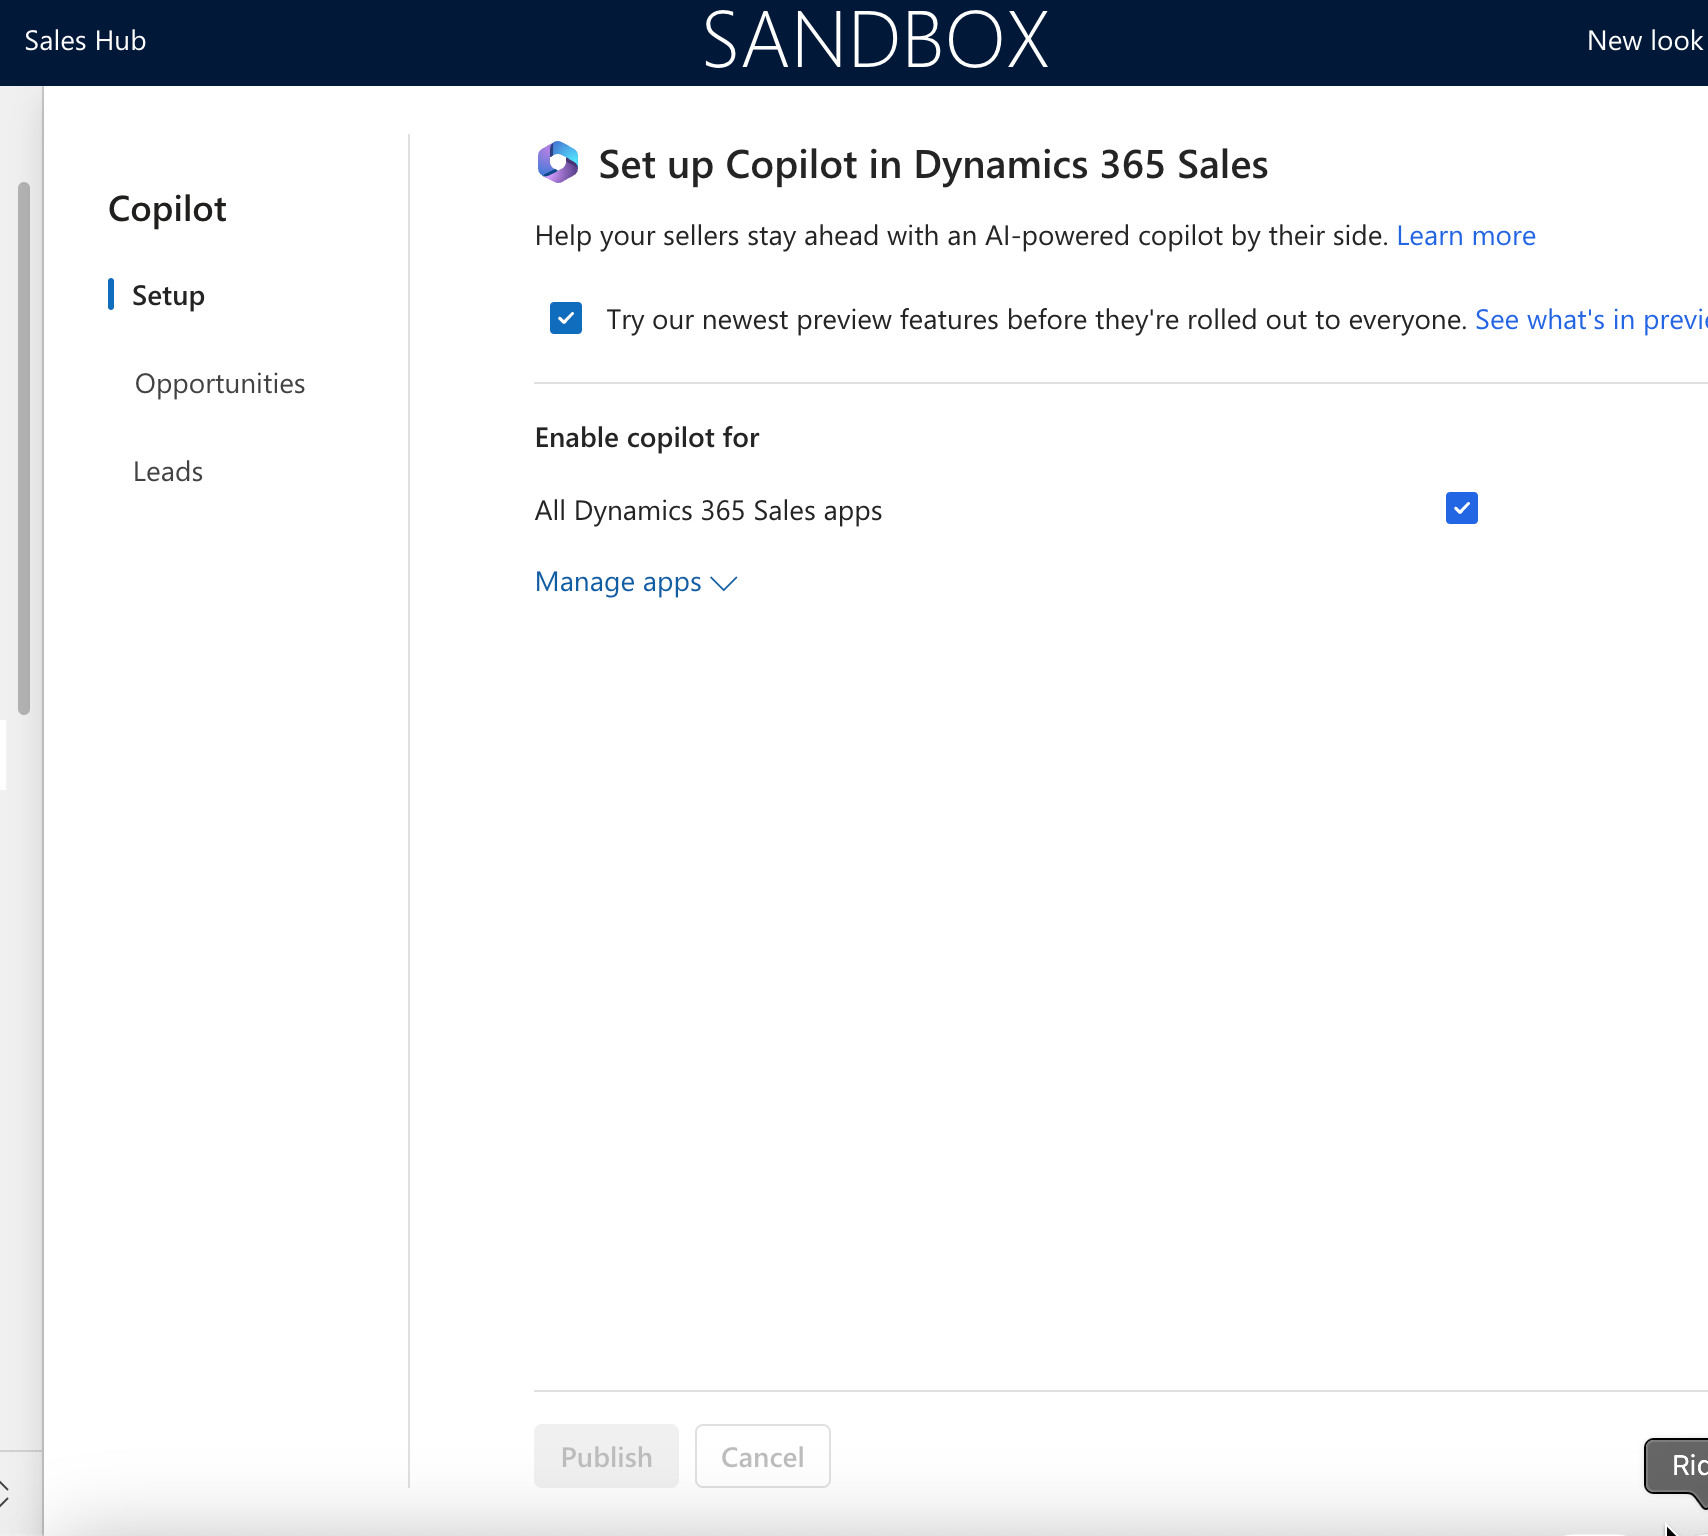
- At this stage, the Copilot has been enabled for the selected Apps in your environment.
Now, you can move to other options like Opportunities and Leads tabs on the settings page.
The Summary section in the entities will show which fields should be included in Summary information that Copilot will generate.
The Recent Changes in the entities will show which fields should be included to keep track of the changes which happen on these fields.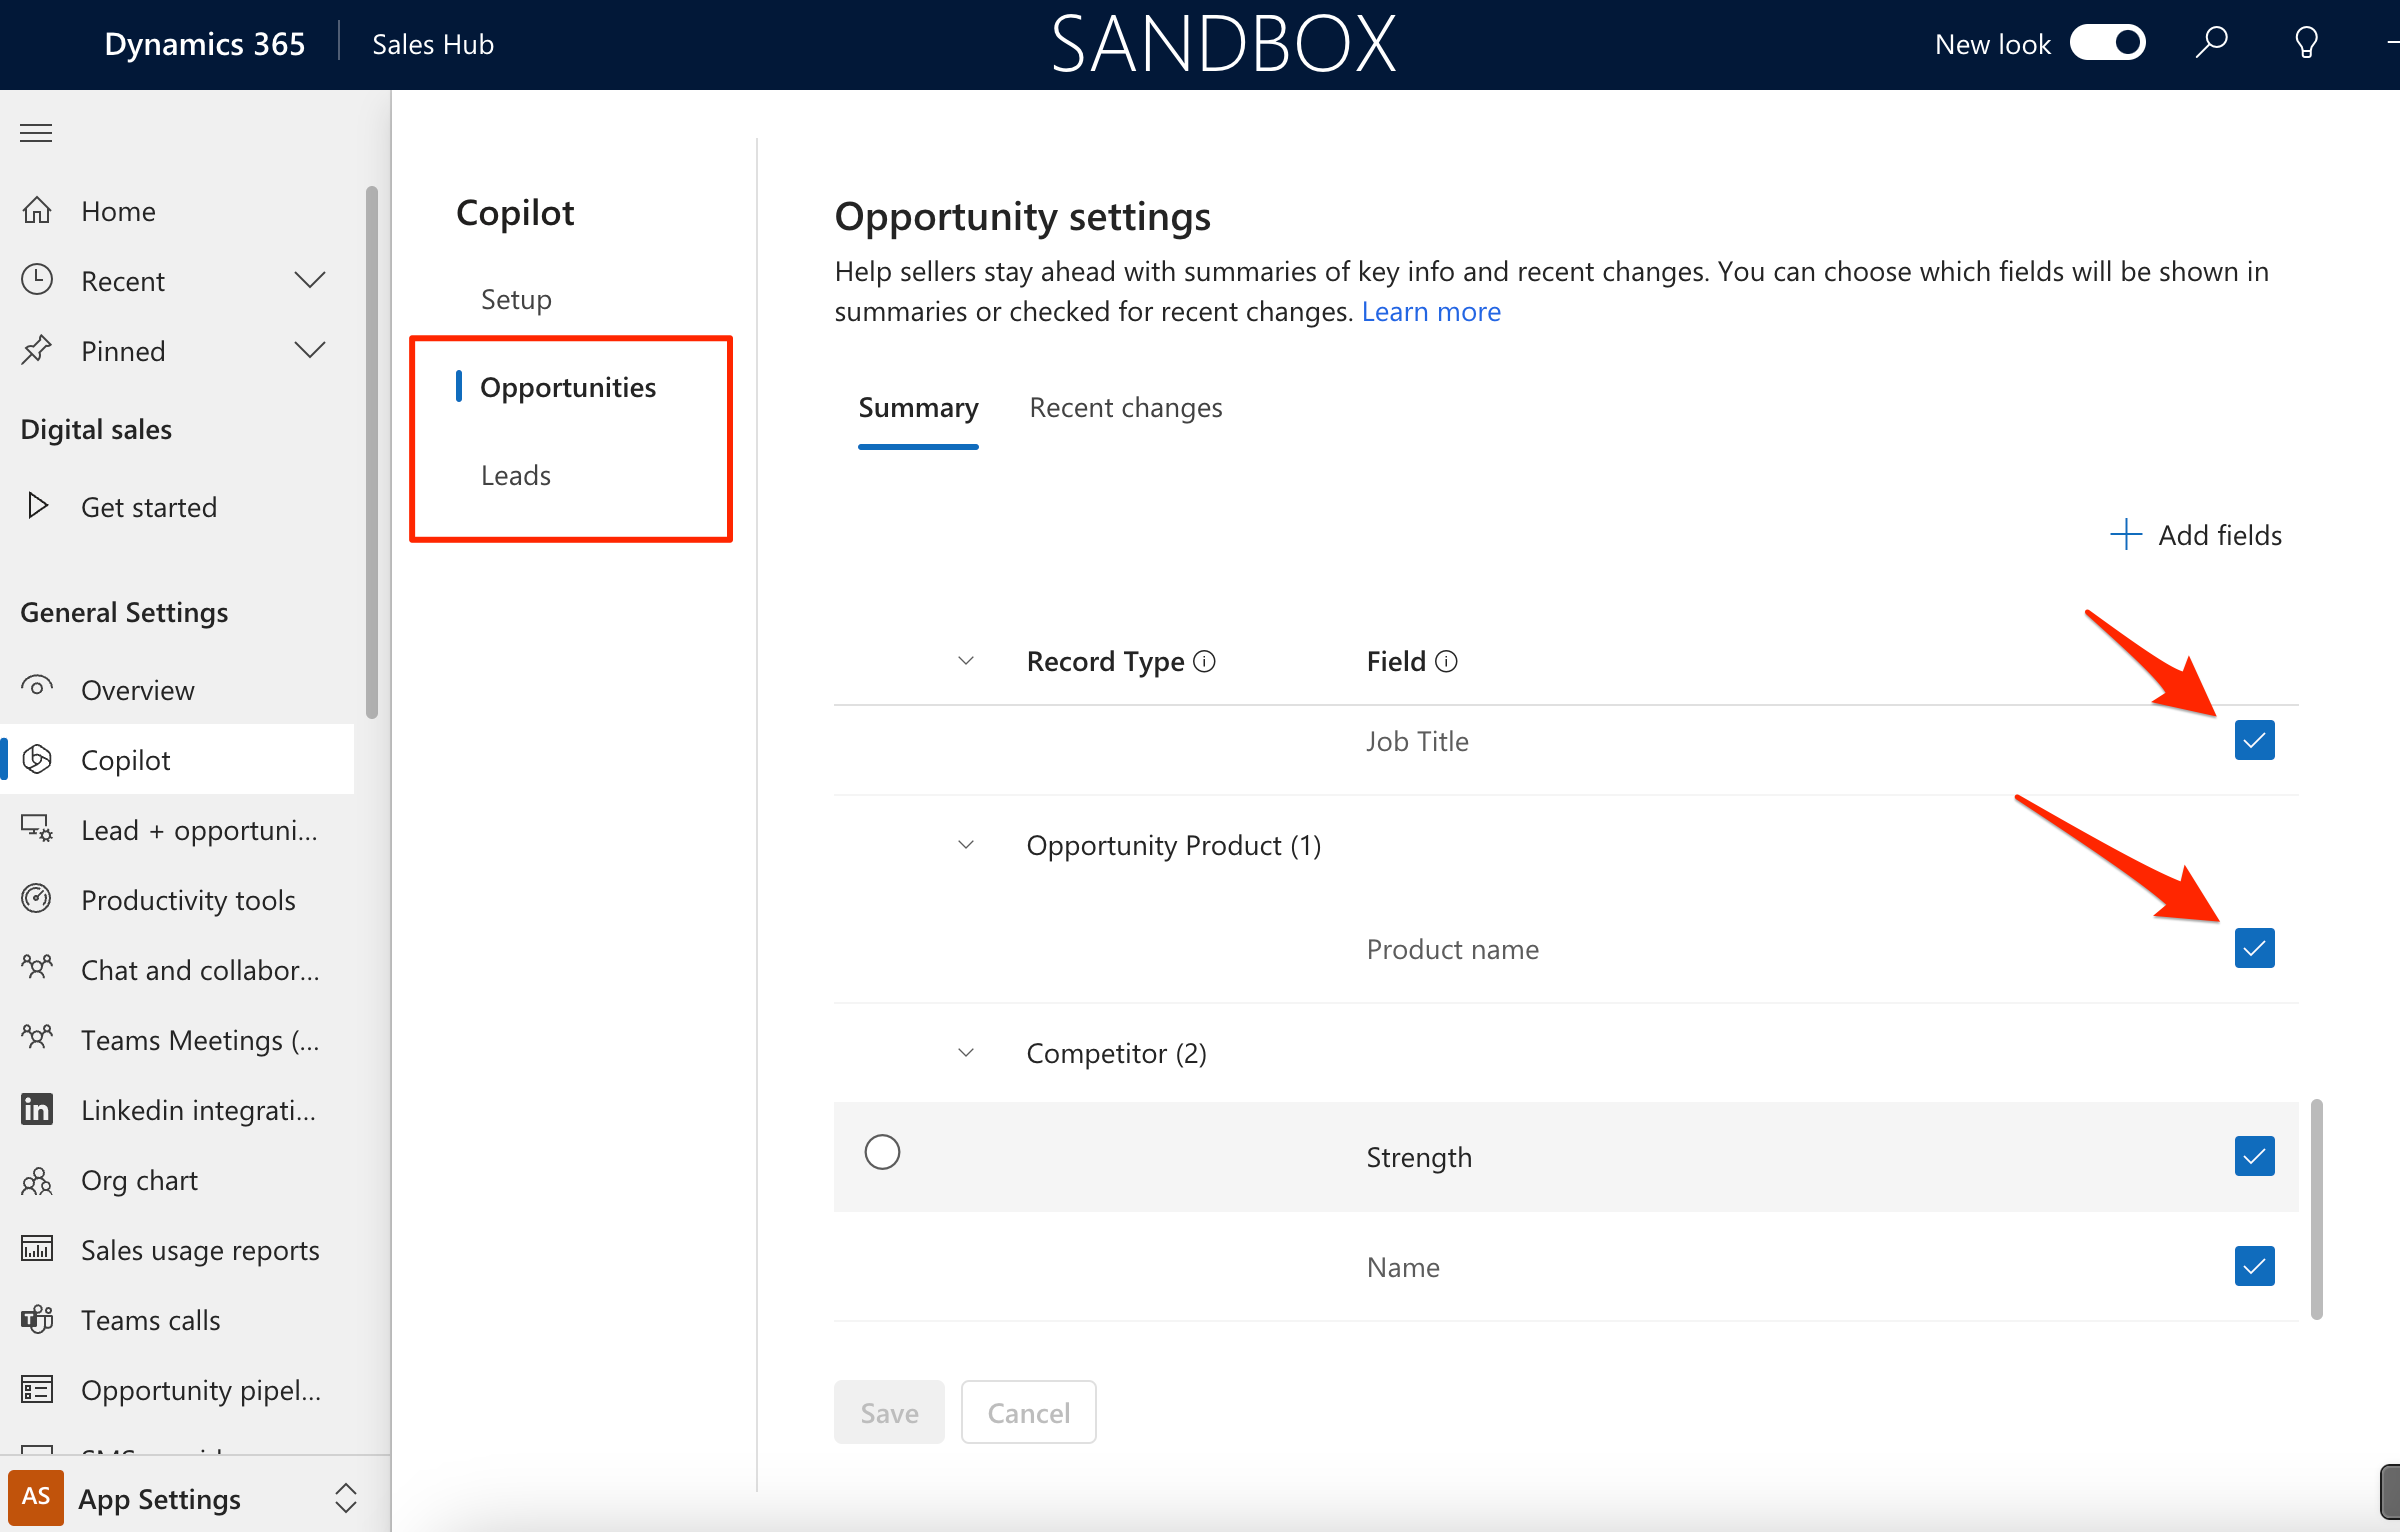
At this point, you are all set in configuring Copilot in your Dynamics 365 Sales environment. Next, I’ll write about how we can use the features which we enabled in this post and I’ll share link of the upcoming post here.
Hope this helps!
Here are some Power Automate posts you want to check out –
- Select the item based on a key value using Filter Array in Power Automate
- Select values from an array using Select action in a Power Automate Flow
- Blocking Attachment Extensions in Dynamics 365 CRM
- Upgrade Dataverse for Teams Environment to Dataverse Environment
- Showing Sandbox or Non Production Apps in Power App mobile app
- Create a Power Apps Per User Plan Trial | Dataverse environment
- Install On-Premise Gateway from Power Automate or Power Apps | Power Platform
- Co-presence in Power Automate | Multiple users working on a Flow
- Search Rows (preview) Action in Dataverse connector in a Flow | Power Automate
- Suppress Workflow Header Information while sending back HTTP Response in a Flow | Power Automate
- Call a Flow from Canvas Power App and get back response | Power Platform
- FetchXML Aggregation in a Flow using CDS (Current Environment) connector | Power Automate
- Parsing Outputs of a List Rows action using Parse JSON in a Flow | Common Data Service (CE) connector
- Asynchronous HTTP Response from a Flow | Power Automate
- Validate JSON Schema for HTTP Request trigger in a Flow and send Response | Power Automate
- Converting JSON to XML and XML to JSON in a Flow | Power Automate
Thank you!
