By default, whenever yo submit an HTTP Request to a Flow, your application will wait till the request is completed. Meaning, the HTTP Response by default in a Cloud Flow is Synchronous.
So, let’s see how you can make it Asynchronous and how you can later retrieve the status of the HTTP Request itself from the Flow. If you make a HTTP Response as Asynchronous, the calling HTTP Request application will receive a 202 Accepted in response.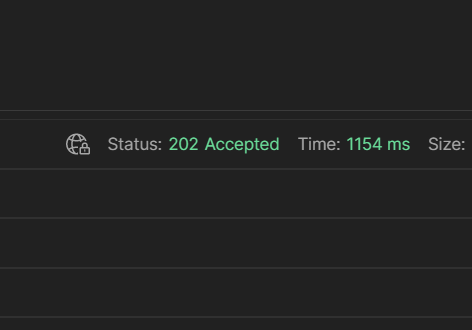
HTTP Request by Default
Let us see how the HTTP Request and Response is structured by default.
- Here’ s the HTTP Request which will receive the request and process the data further.
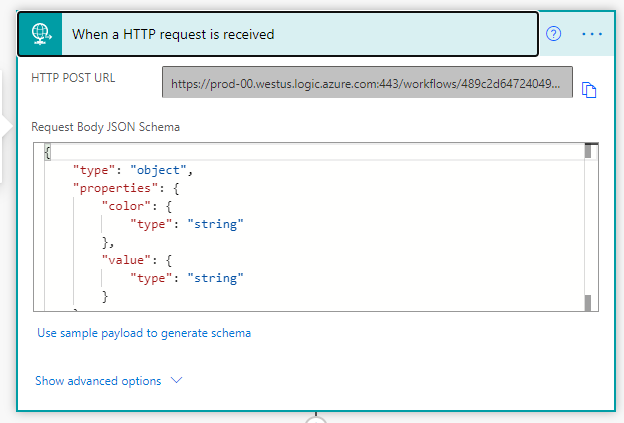
- And let’s assume you some lengthy process involved in your Flow which is making an average execution time span to a significant time. To mimic that, I’ve simply introduced a delay of 3 minutes to demonstrate the Async example.

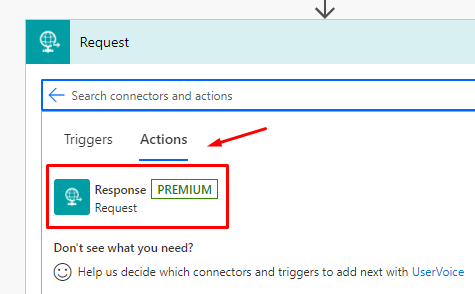
In case you want to review how to pause a Workflow using Delay and Delay Until, you can check this post – Pause a Flow using Delay and Delay Until | Power Automate - And finally, assuming my execution of the Flow has completed and I’m supposed to send the Response back to the HTTP Request calling application, I’ll use the Response Action from the Request connector
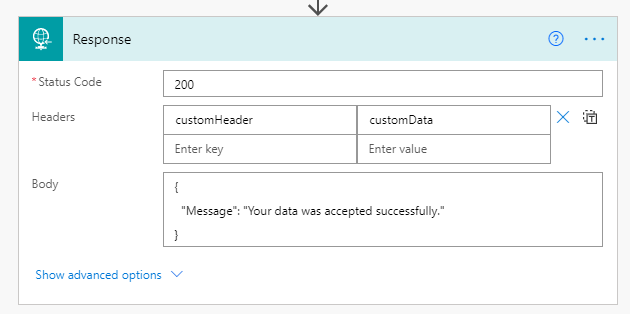
 }
} - And my Response will look something like this letting the caller application know that the processing has been successfully completed.
Now let’s see how this calling application will behave in this case. Assuming, we haven’t manipulated any settings as yet.
The Flow looks like this just to give you a visual perspective of the implementation.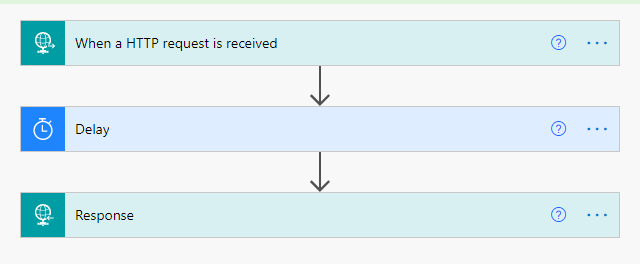
- Now, Once I send a Request from Postman, the Postman itself will be waiting for a response till the execution of the Flow is completed.
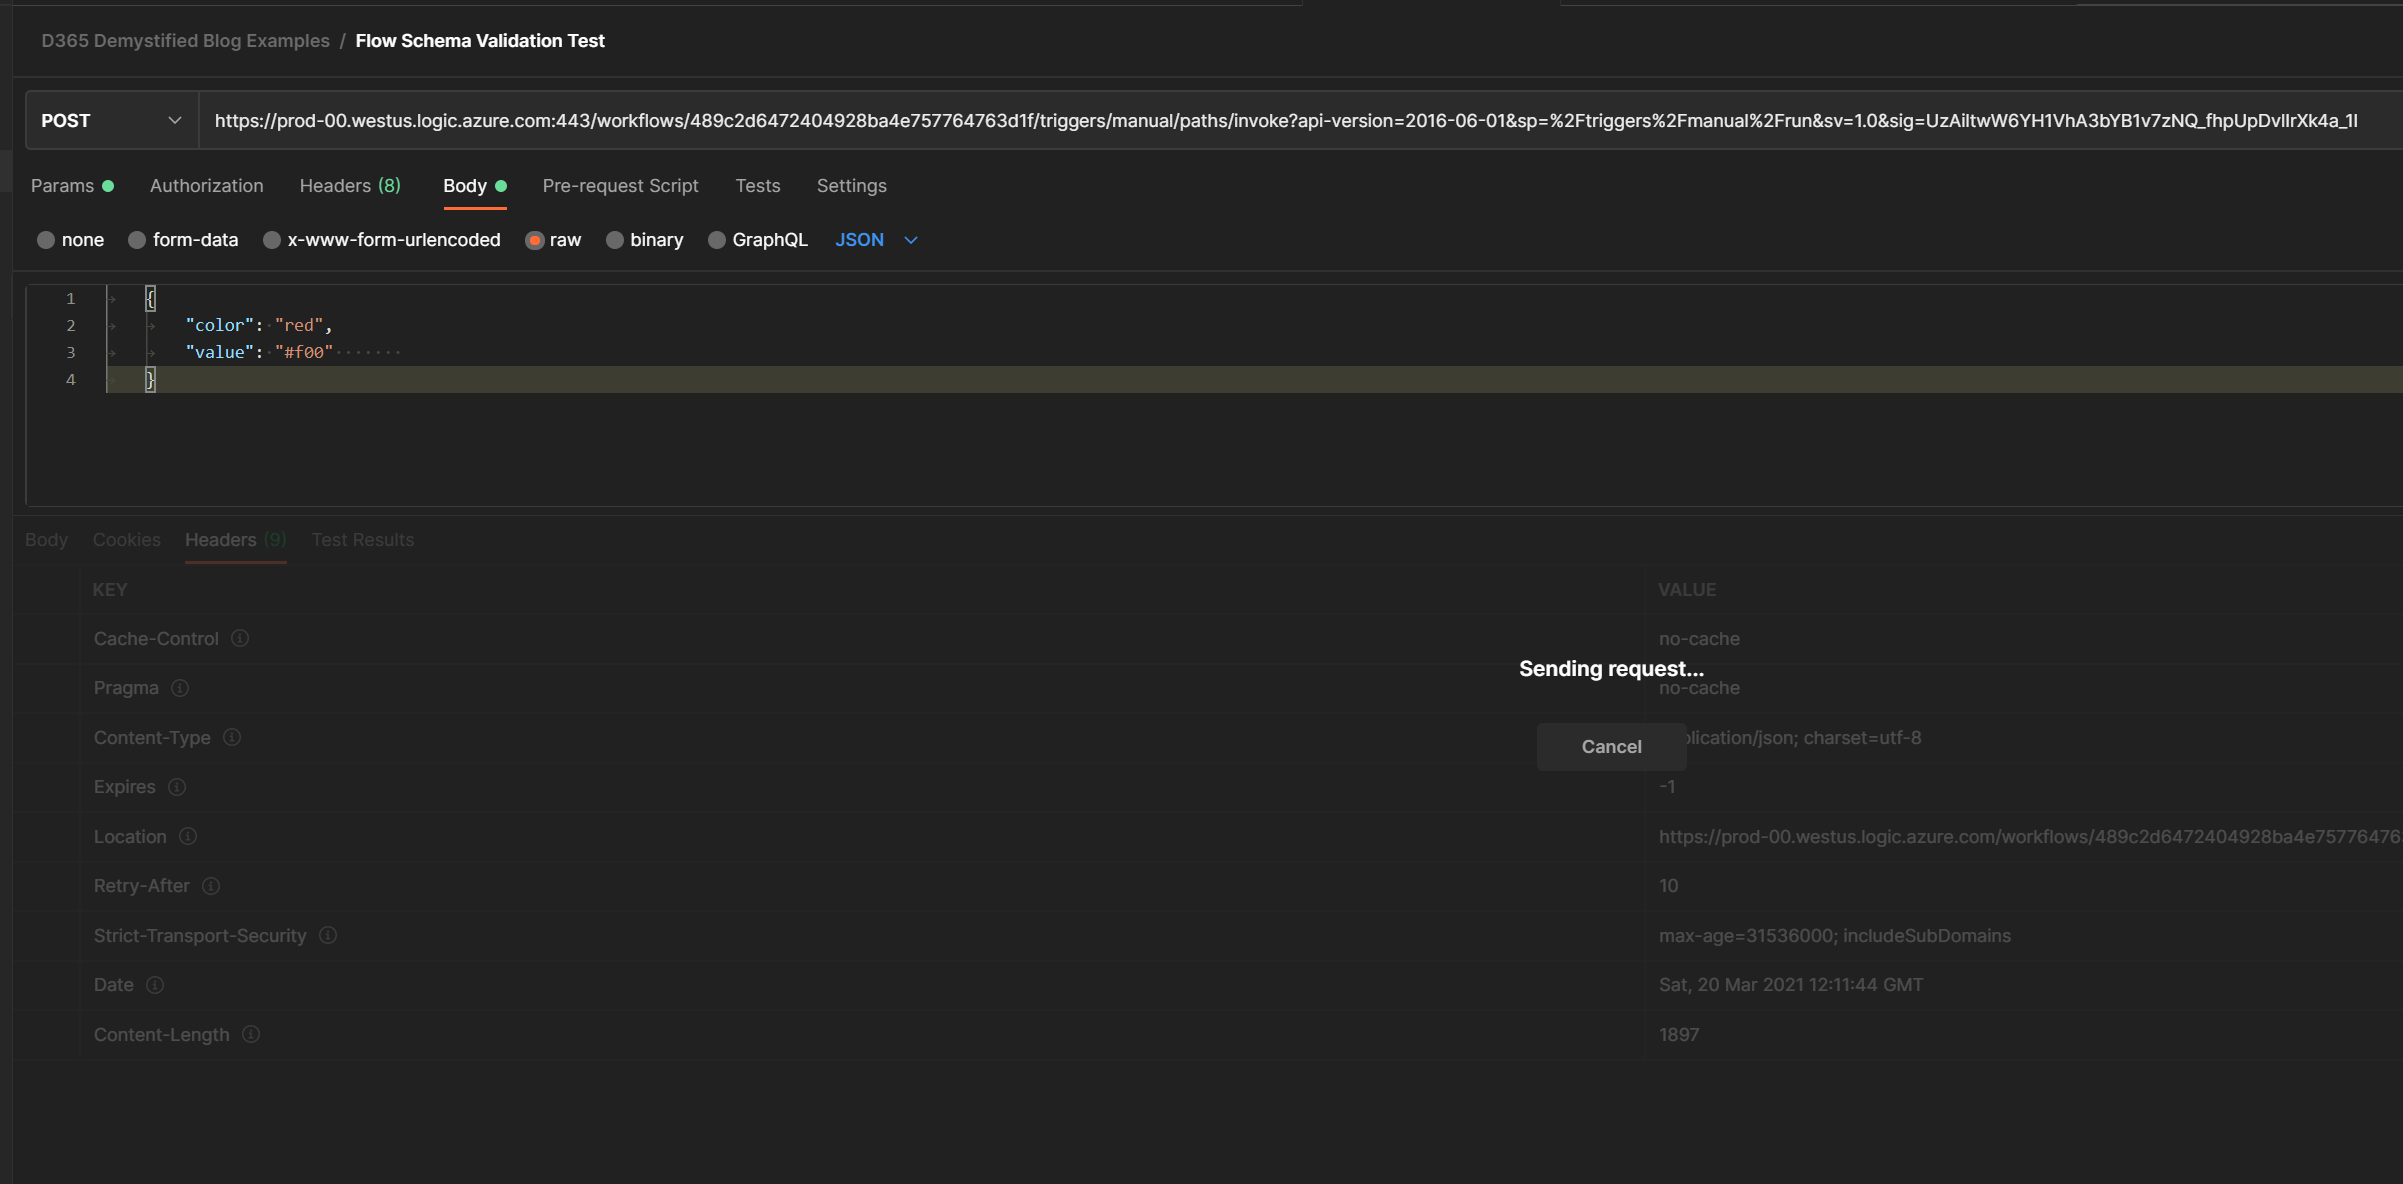
- This is because the Flow itself is waiting to be processed and yet to reach the Response block in the Flow.

Asynchronous Response
We will now turn on the Asynchronous Response of the HTTP Response Action –
- Go to Settings on the Response action step.

- In Settings, turn on Asynchronous Response On and save it.
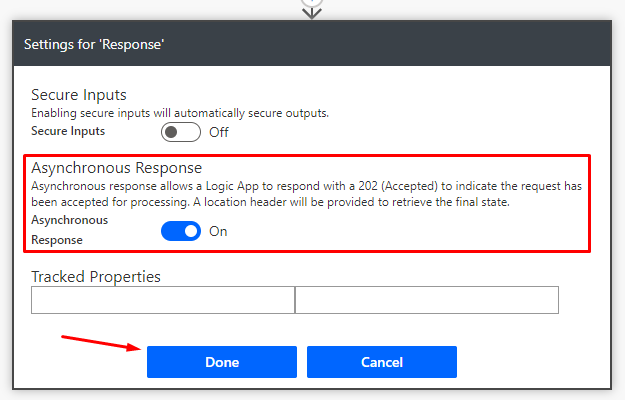
- As mentioned in the description of the Asynchronous Response setting, the caller Application will immediately get a 202 Accepted code upon sending the HTTP Request.

- Notice the Headers, you’ll see a Location header item

- Capture this URL in your calling application as you can use it to check the status of the Request later on once the operation is completed on the Flow.
Checking Request Status
Since we have the Location information which was passed on from to the Response Header previously, we can use the URL to check the Response Status separately by making another call to the URL itself.
- If the Status is still Running, you’ll get this response. It will imply that the Flow is still Running and the Response is not available yet.
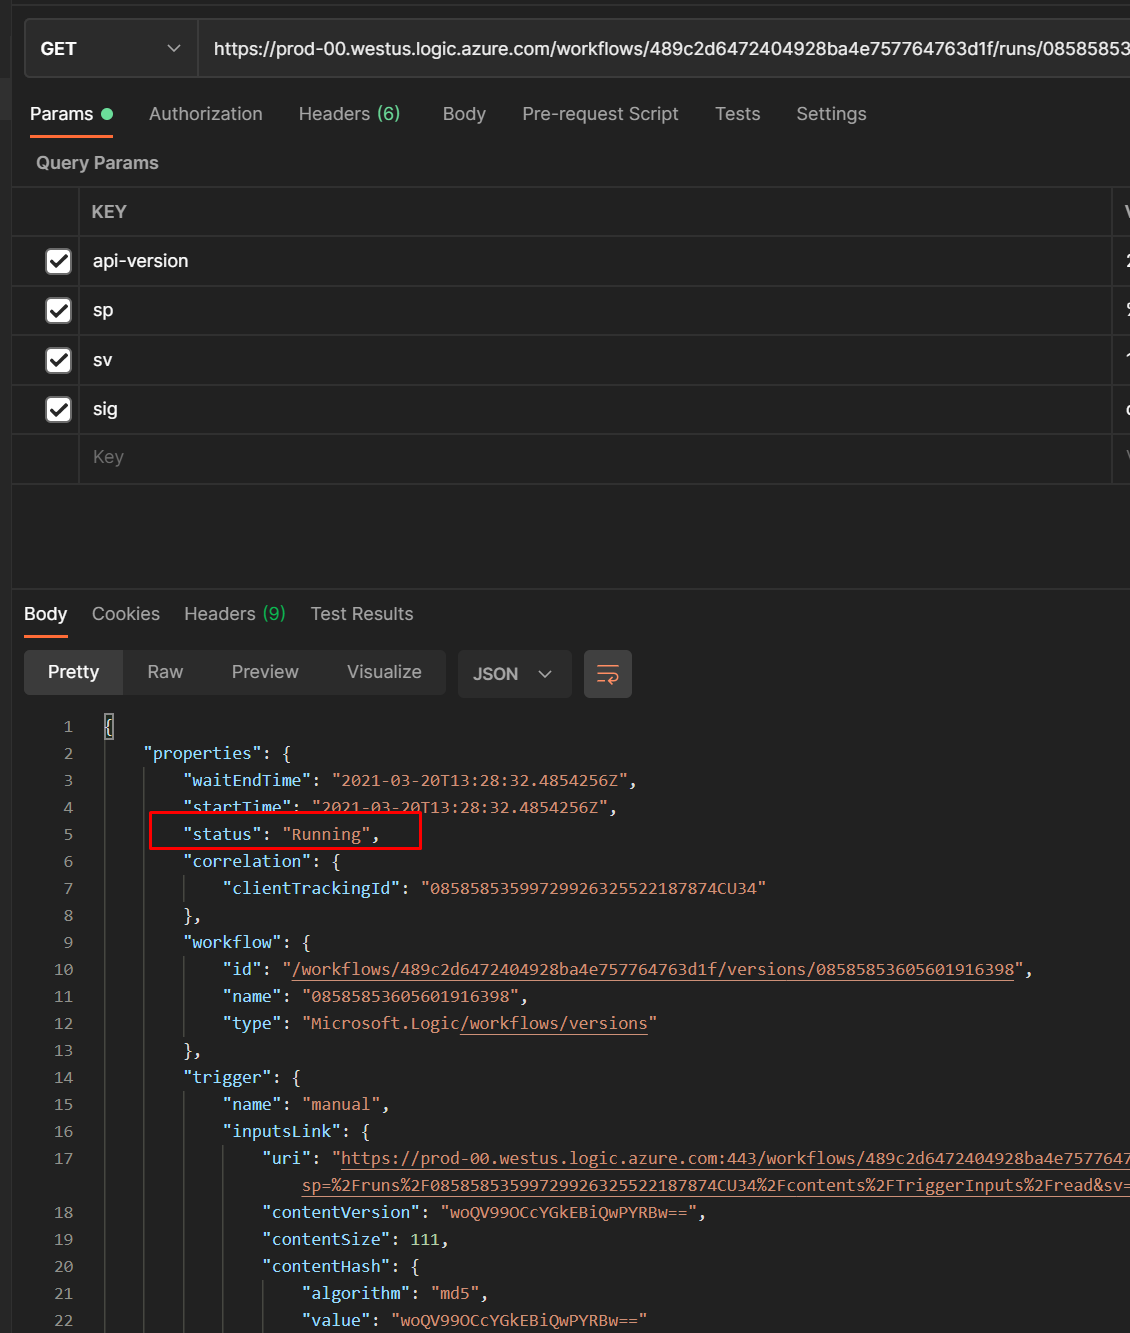
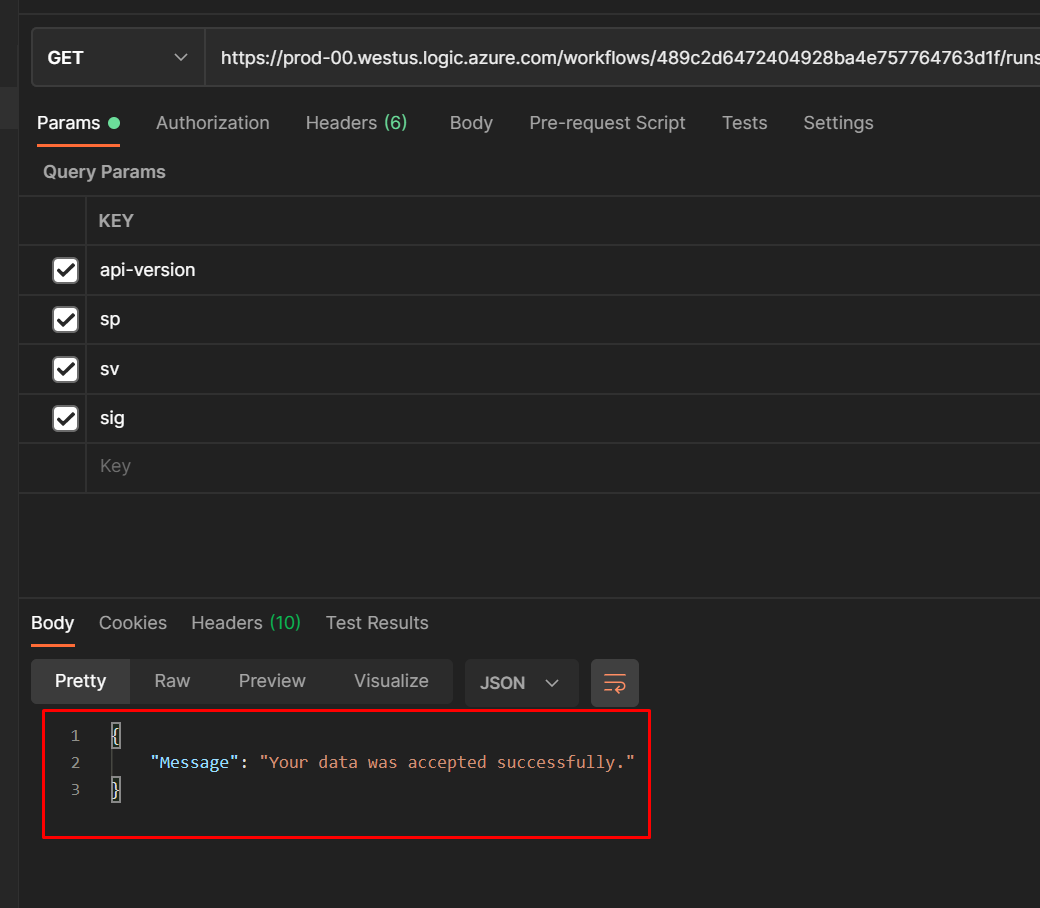
- Else, you’ll get the actual Response which was supposed to be received had the Flow’s HTTP Response was set to Synchronous by default (Asynchronous Response = OFF)
Hope this was helpful!
I’ve added a YouTube Video for the same. You can alternatively, check the same as well –
Here are some more Power Automate / Flow posts you might want to check –
- Validate JSON Schema for HTTP Request trigger in a Flow and send Response | Power Automate
- Call HTTP Request from a Canvas Power App using Flow and get back Response | Power Automate
- Accept HTTP Requests in a Flow and send Response back | Power Automate
- Setting Retry Policy for an HTTP request in a Flow | Power Automate
- Make HTTP request from Flow in Power Automate
- Connecting XrmToolBox to an MFA enabled Dynamics 365 environment | Azure ADFormatDateTime function in a Flow | Power Automate
- Visualize Adaptive Card for Teams user action within a Cloud Flow | Experimental Feature
- FormatDateTime function in a Flow | Power Automate
- Form Access Checker in new Power Apps Form Designer | Model-Driven Apps in Dynamics 365Formatting Approvals’ Details in Cloud Flows | Power Automate
- Trigger Conditions not working in a Cloud Flow? Here’s Why | Power Automate Quick Tip
- Setting Lookup in a Flow CDS Connector: Classic vs. Current Environment connector | Power Automate Quick Tip
- Make On-Demand Flow to show up in Dynamics 365 | Power Automate
- Adaptive Cards for Outlook Actionable Messages using Power Automate | Power Platform
- Run As context in CDS (Current Environment) Flow Trigger | Power Automate
Thank you!!