Here’s how you can try out Copilot Studio for free first. Along with that, here’s the Copilot Studio Pricing – https://www.microsoft.com/en-us/microsoft-copilot/microsoft-copilot-studio#Pricing
Copilot Studio Trial
Here’s how you can start your own Copilot Studio Trial.
- Navigate to the Copilot Studio homepage – https://www.microsoft.com/en-us/microsoft-copilot/microsoft-copilot-studio
You’ll see this Homepage and you can see a button to Try free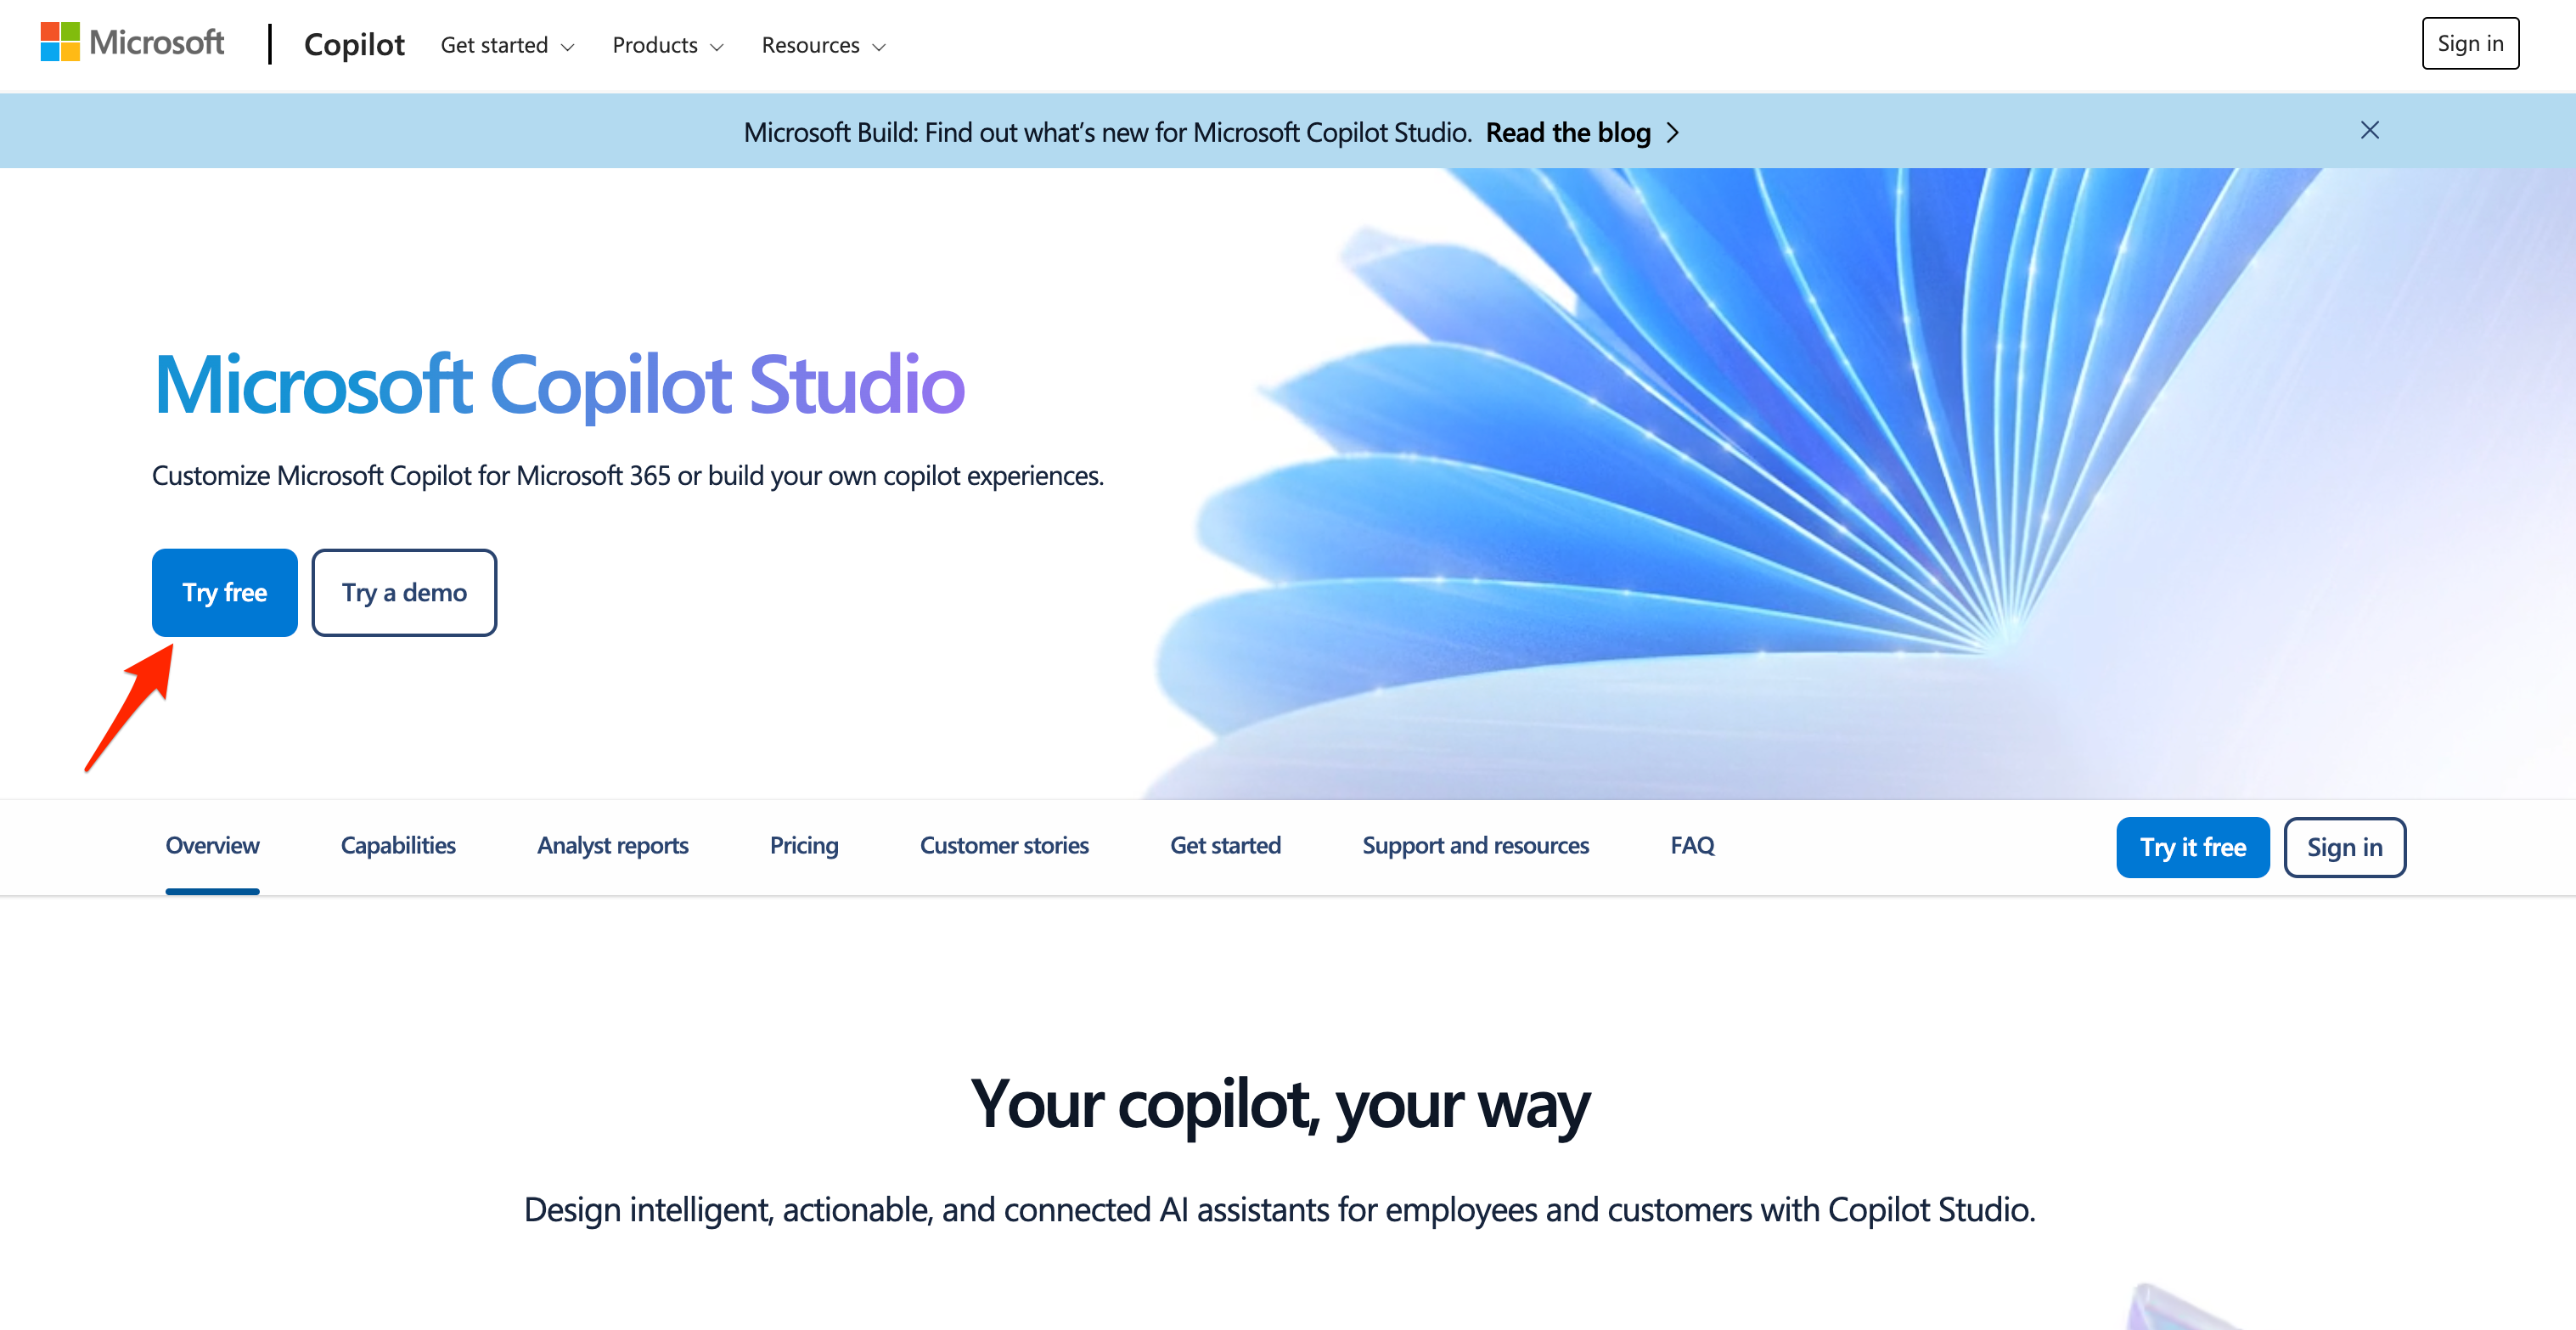
- Then, just like any other Sign up process for Microsoft products, you can start by the entering the Email of the org which you want to provision this on.

- Once you click Next, you’ll be asked to Sign In once everything looks good to be provisioned.

- Once you Sign In, you’ll be asked for Region and Phone.

- Once you click on Get Started, you’ll be asked for final confirmation and then it’ll start provisioning.

- Once you click on Get Started, it’ll take a few minutes to get provisioned.
Then, you’ll finally see Copilot Studio show up. Select your region and Get Started.
- Finally, switch to the right environment which you wish to work on.
It’ll start with a Welcome Wizard and you are ready to go and start your Copilot Journey!
And this is where you can start exploring within the Copilot Studio!
Hope this was useful!
Here are some Power Automate posts you want to check out –
- Select the item based on a key value using Filter Array in Power Automate
- Select values from an array using Select action in a Power Automate Flow
- Blocking Attachment Extensions in Dynamics 365 CRM
- Upgrade Dataverse for Teams Environment to Dataverse Environment
- Showing Sandbox or Non Production Apps in Power App mobile app
- Create a Power Apps Per User Plan Trial | Dataverse environment
- Install On-Premise Gateway from Power Automate or Power Apps | Power Platform
- Co-presence in Power Automate | Multiple users working on a Flow
- Search Rows (preview) Action in Dataverse connector in a Flow | Power Automate
- Suppress Workflow Header Information while sending back HTTP Response in a Flow | Power Automate
- Call a Flow from Canvas Power App and get back response | Power Platform
- FetchXML Aggregation in a Flow using CDS (Current Environment) connector | Power Automate
- Parsing Outputs of a List Rows action using Parse JSON in a Flow | Common Data Service (CE) connector
- Asynchronous HTTP Response from a Flow | Power Automate
- Validate JSON Schema for HTTP Request trigger in a Flow and send Response | Power Automate
- Converting JSON to XML and XML to JSON in a Flow | Power Automate
Thank you!