If you are wondering how to get and setup the Microsoft Azure Storage Explorer – Here’s this post!
Azure Storage Explorer
Here’s how you can download and setup Microsoft Azure Storage Explorer.
- Search For Azure Storage Explorer and you’ll see something as below –

- Once you open the azure.microsoft.com link, you’ll see the below –
Drop down to select Windows. And the Setup will will be prompted to save on your browser (or directly download based on your browser settings)
- And it’ll appear that it has been downloaded to your machine.

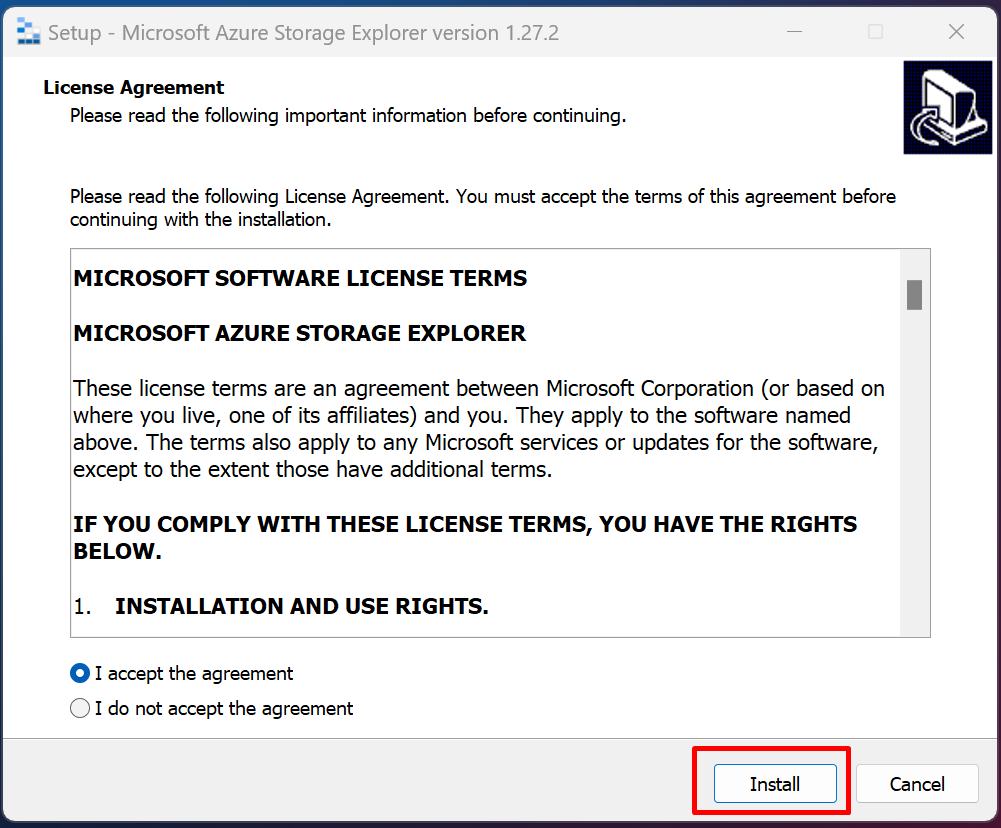
- Now, click on the Setup and let it start. Accept the Terms if everything looks OK to you, then click on Install
- It’ll then ask you where to setup and what it should call on the system. Standard stuff.


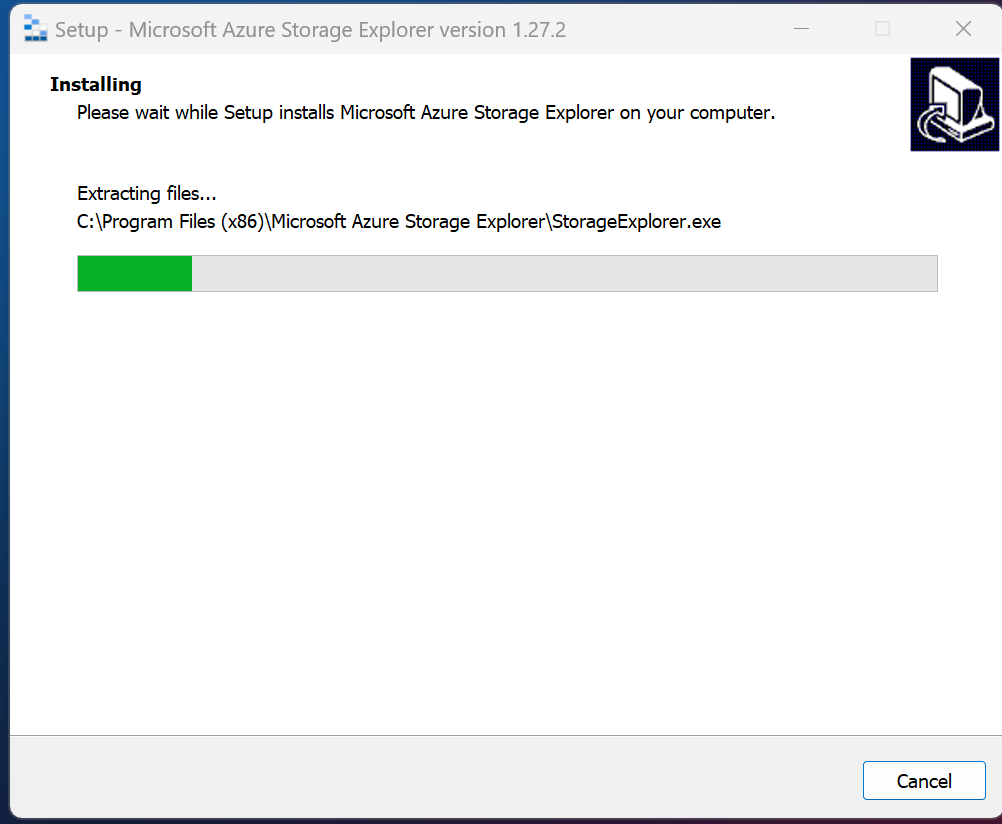
- Then, installation will begin.
- Then, open it up when finished.

- Now, this will come up. You are now ready to Sign-In!
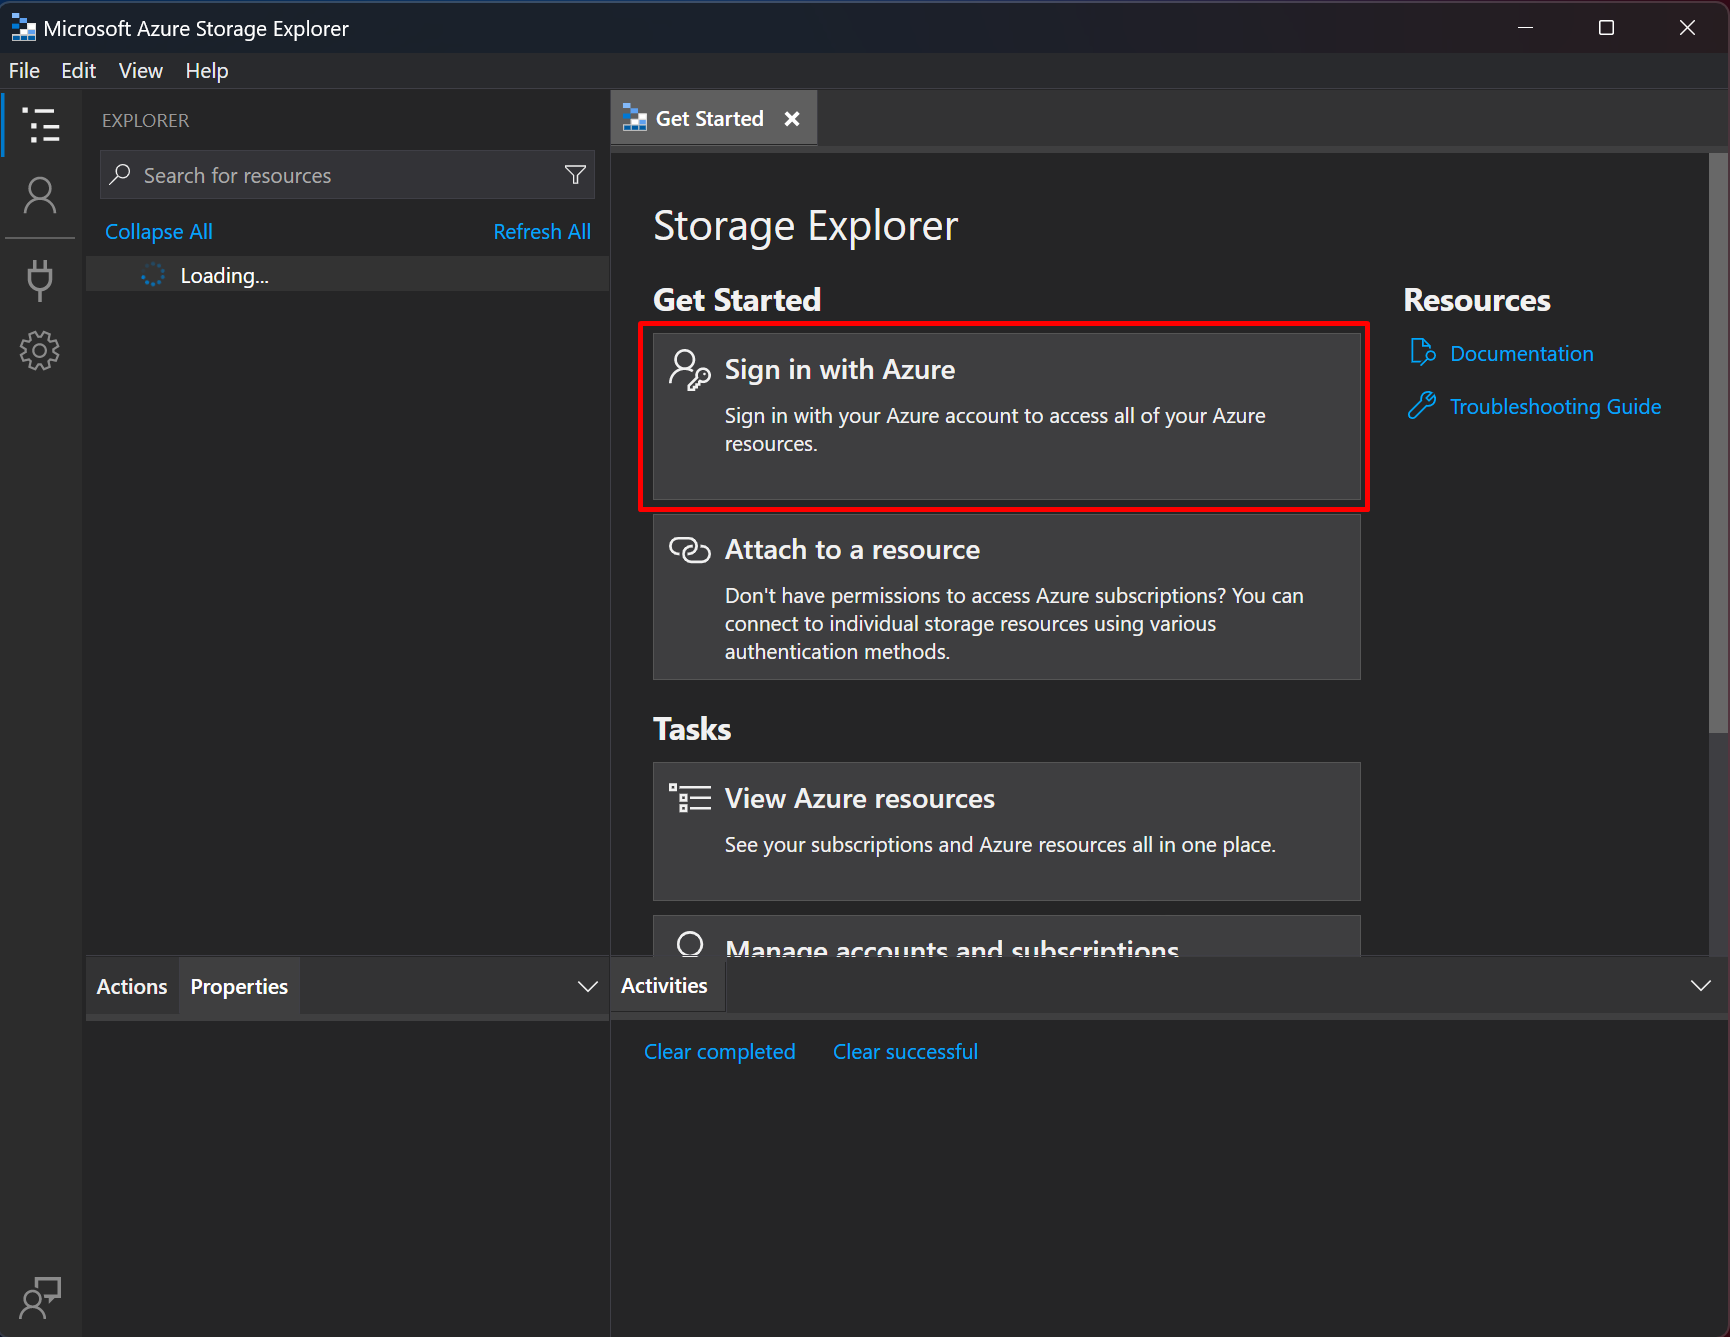
Sign In with Azure in Microsoft Storage Explorer
Now, picking up from the step above, here’s how you sign in –
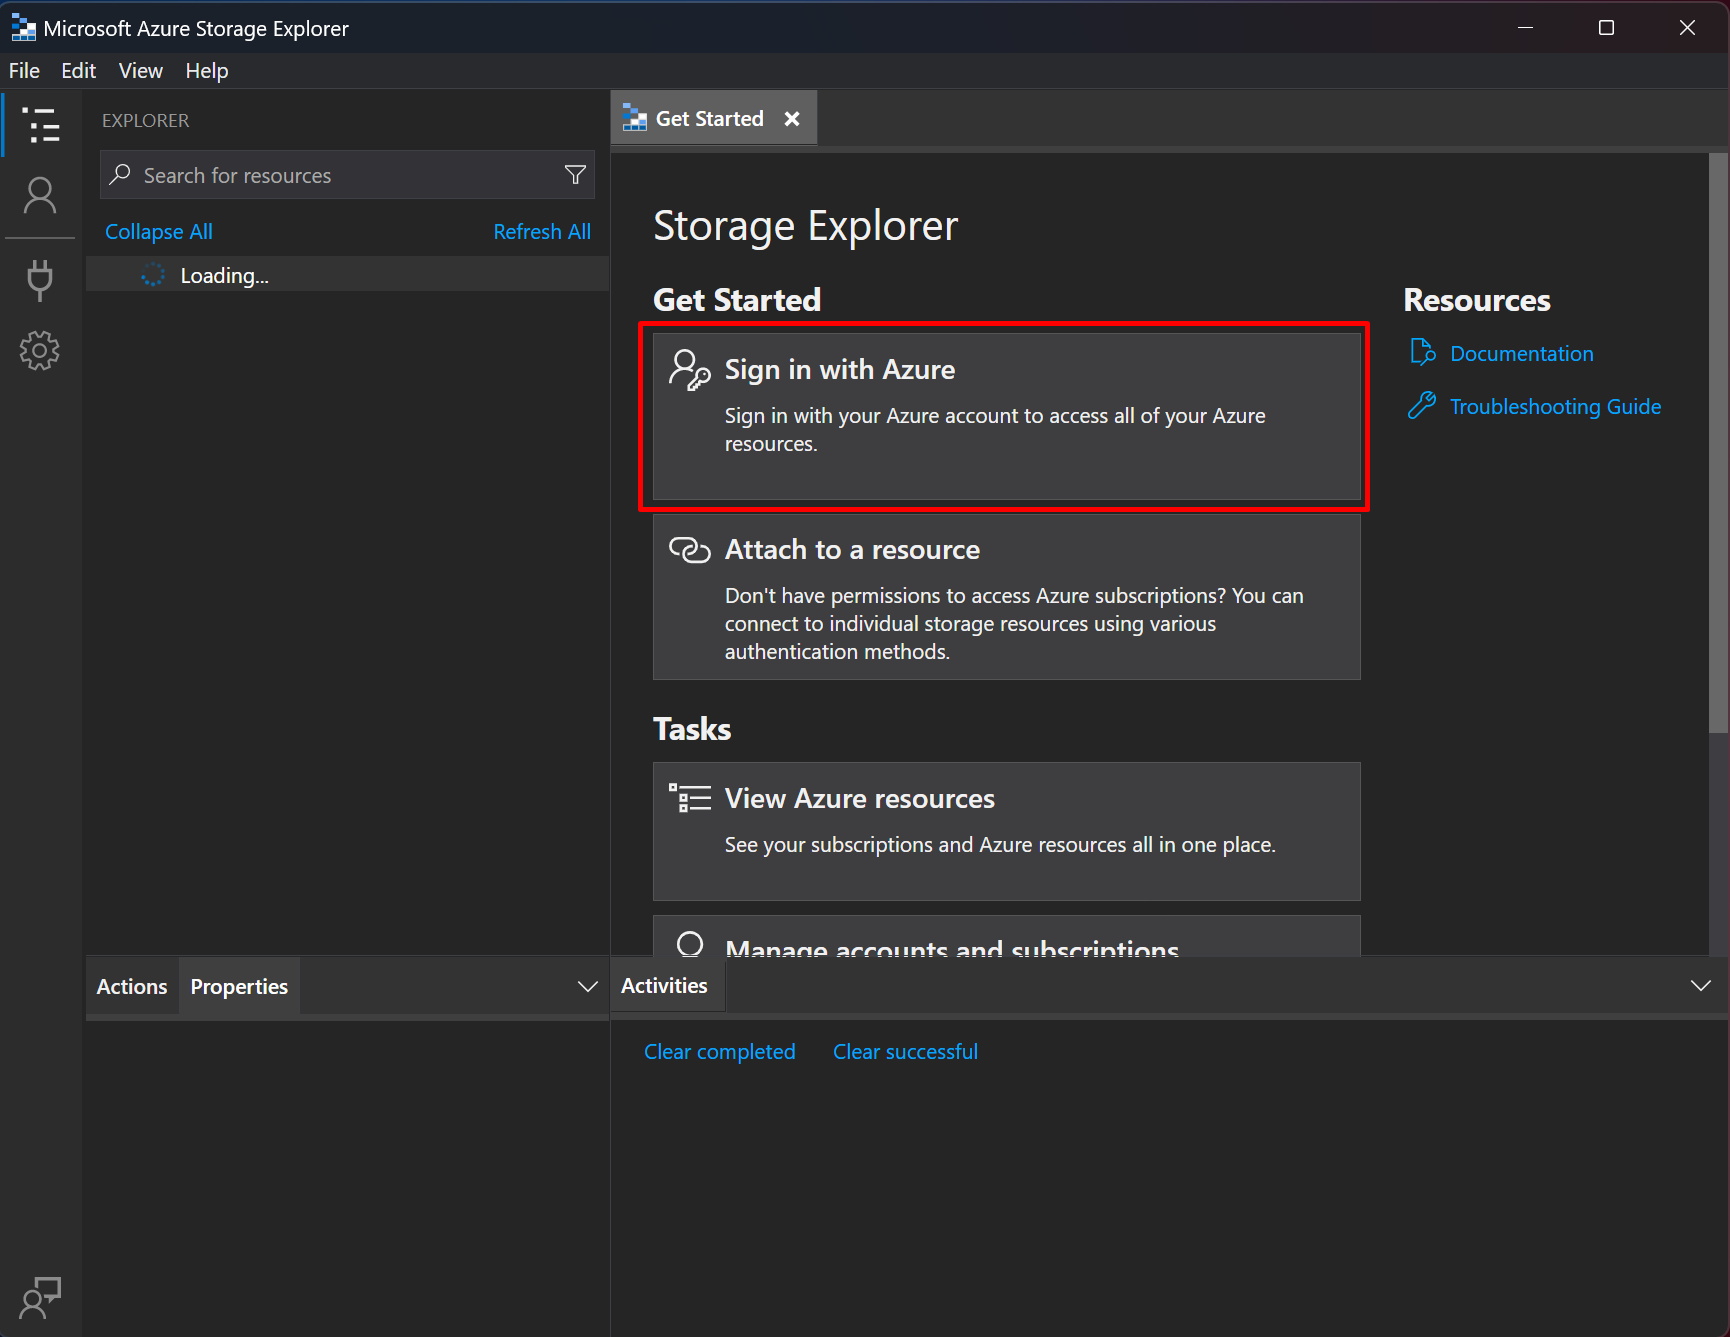
- Click on the Sign In with Azure if that’s your case unless you are trying other options in this wizard.
- If your Azure is usual one to login, can you simply click on Azure and click Next.

- Then, you’ll be asked to authenticate. Enter your credentials and authenticate like you would for any Microsoft Account.

- Once successful, you’ll see this and you can close the window.

- Now, if you open the App, it’ll detect your Azure Subscription if you have one.
If it looks correct, you can simply click on Open Explorer.
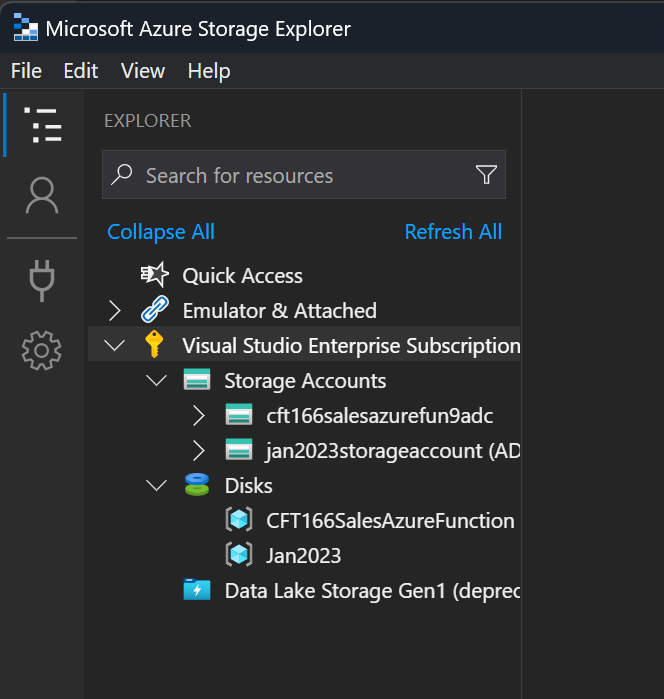
- Once opened, you can expand on the Subscription and see all your Storage Accounts.
Hope this helps!
Here are some Power Automate posts you want to check out –
- Smart Buttons in Ribbon Workbench | XrmToolBox
- Hide options from OptionSet using JavaScript in Dynamics 365 CRM
- Select the item based on a key value using Filter Array in Power Automate
- Select values from an array using Select action in a Power Automate Flow
- Blocking Attachment Extensions in Dynamics 365 CRM
- Upgrade Dataverse for Teams Environment to Dataverse Environment
- Showing Sandbox or Non Production Apps in Power App mobile app
- Create a Power Apps Per User Plan Trial | Dataverse environment
- Install On-Premise Gateway from Power Automate or Power Apps | Power Platform
- Co-presence in Power Automate | Multiple users working on a Flow
- Search Rows (preview) Action in Dataverse connector in a Flow | Power Automate
- Suppress Workflow Header Information while sending back HTTP Response in a Flow | Power Automate
- Call a Flow from Canvas Power App and get back response | Power Platform
- FetchXML Aggregation in a Flow using CDS (Current Environment) connector | Power Automate
- Parsing Outputs of a List Rows action using Parse JSON in a Flow | Common Data Service (CE) connector
- Asynchronous HTTP Response from a Flow | Power Automate
- Validate JSON Schema for HTTP Request trigger in a Flow and send Response | Power Automate
- Converting JSON to XML and XML to JSON in a Flow | Power Automate
Thank you!