In this post, I will highlight on how you can enable SharePoint Online Document Integration with Dynamics 365 CRM and how these records are structured in SharePoint as well as Dynamics CRM.
Hope this post covers it for you to get started with Dynamics 365 SharePoint Online Integration! 😊
Pre-requisites
Here are the pre-requisites you need to make sure you can enable SharePoint Online integration with Dynamics 365 CE/CRM.
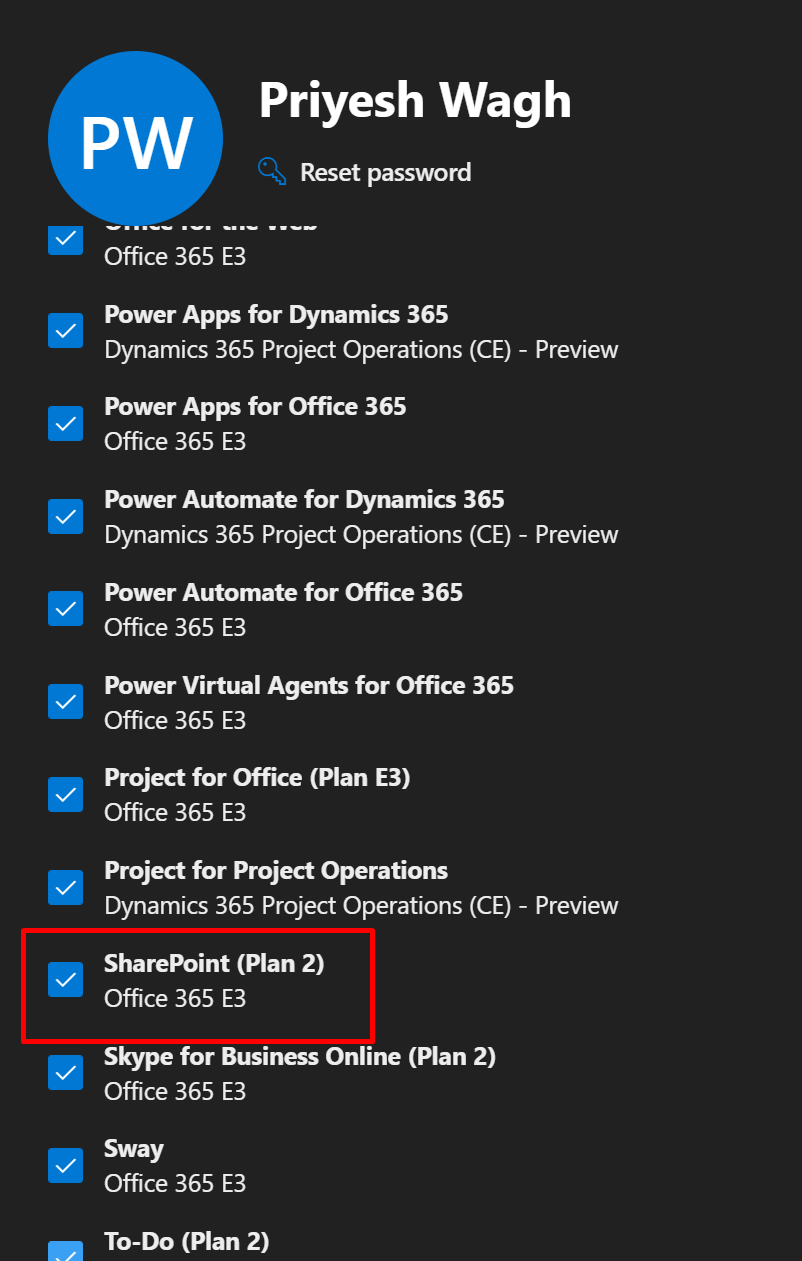
- With Dynamics 365 Online, you’ll also need SharePoint Online plan as well which is available with M365/O365 Plans. Example: E3

- Also, make sure you are Dynamics 365 Admin as well as SharePoint Admin as well. In case you happen to the be Global Administrator, even better! 😊
Before enabling SharePoint Integration
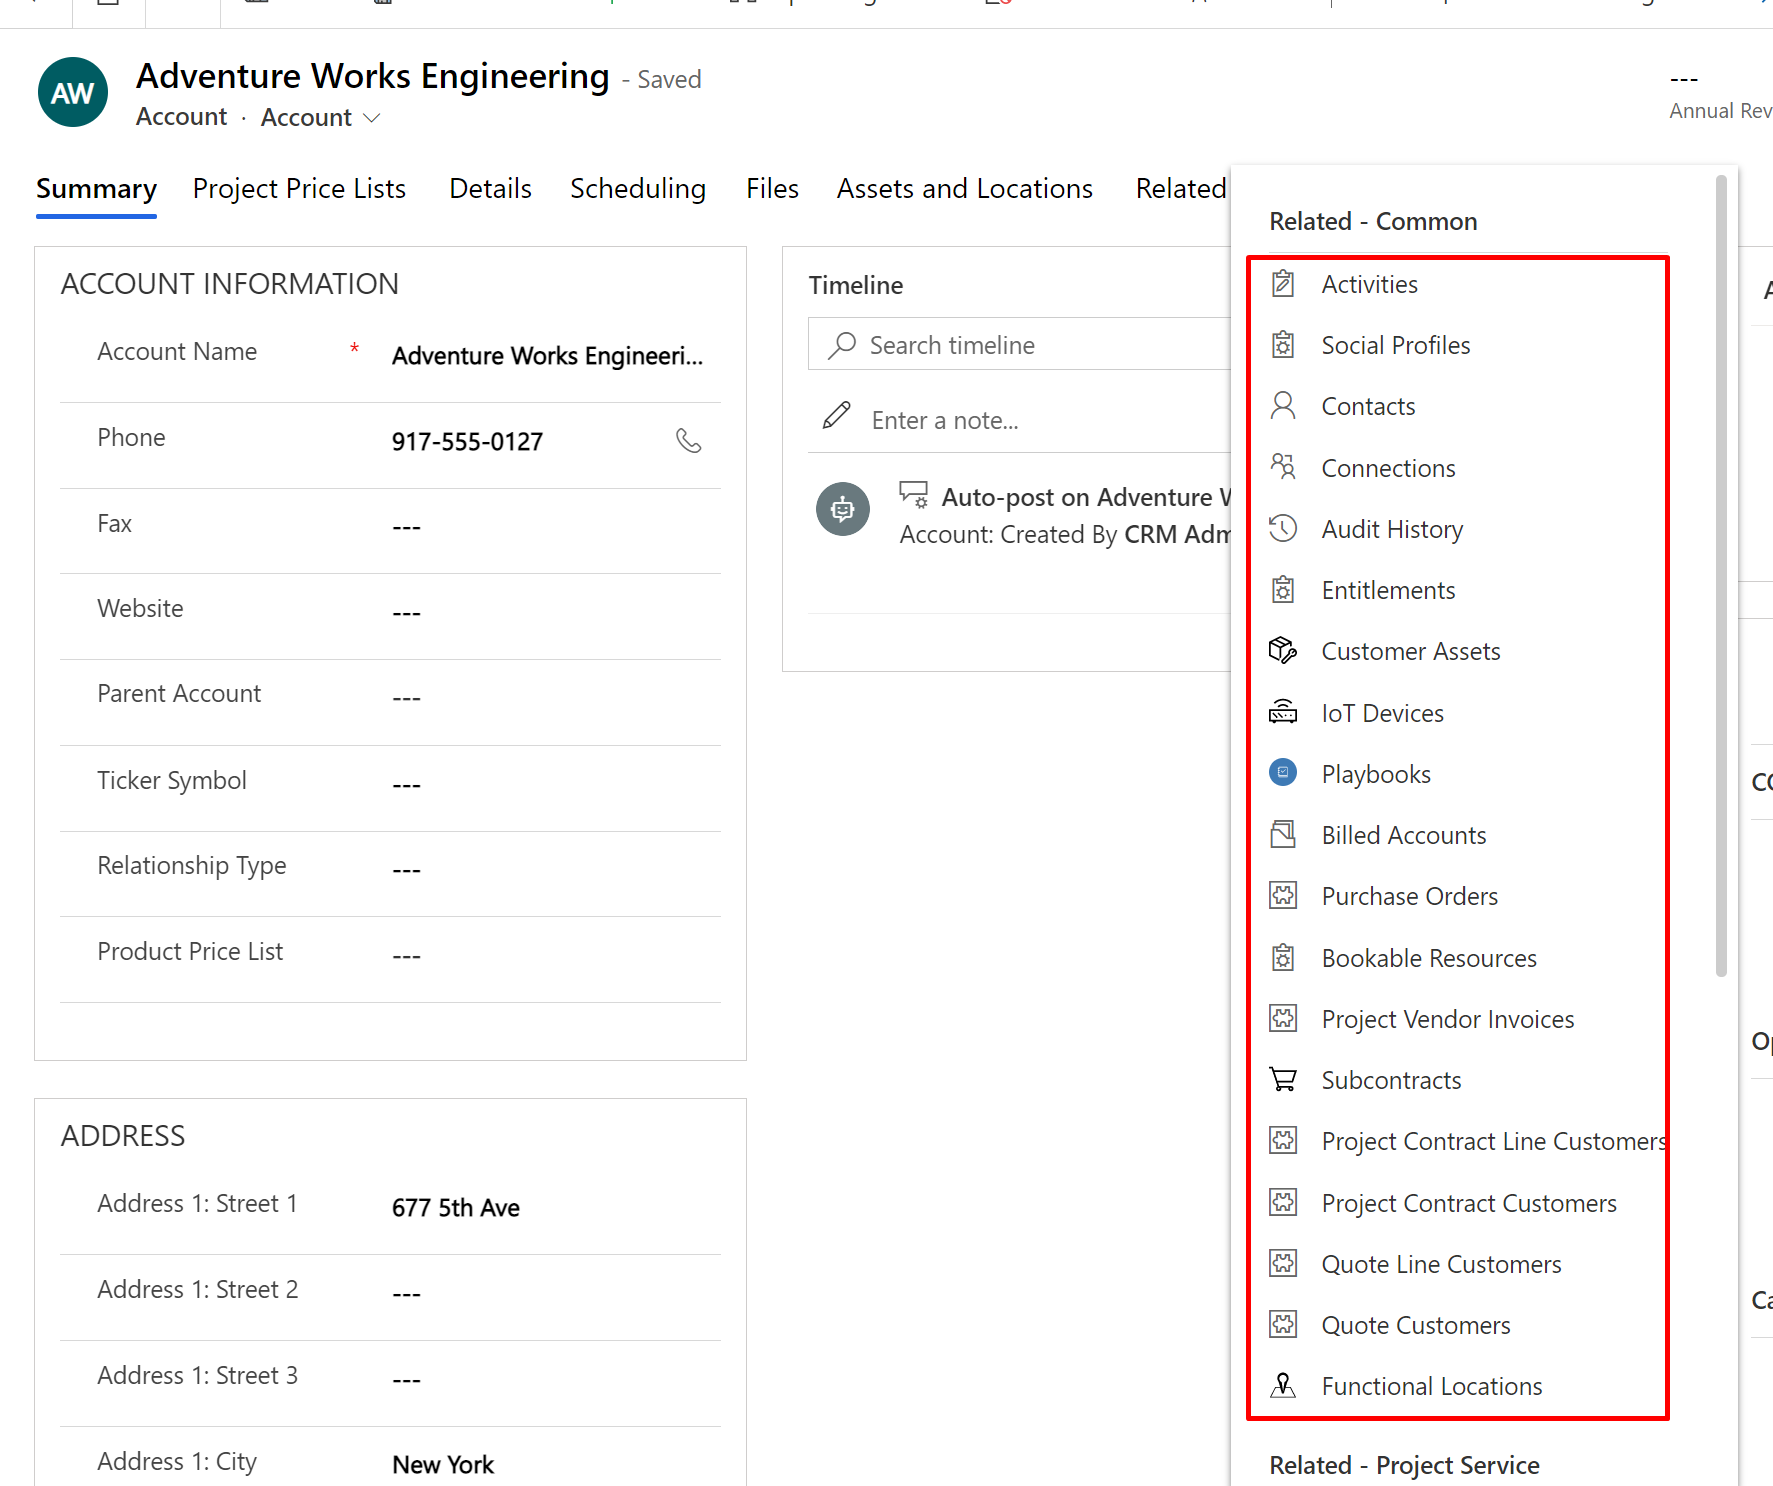
Before we enable SharePoint Integration, notice that Documents is not shown in related records under entities like Accounts, for example.
Power Platform Admin Center
You can visit Power Platform Admin Center (https://admin.powerplatform.microsoft.com/environments) to enable SharePoint Integration
- Navigate to Power Platform Admin Center (https://admin.powerplatform.microsoft.com/environments) and then to the environment with which you want to enable the SharePoint Online integration with –
Then, go the to Settings of the Organization –
- Under the Integration section, navigate to Document management settings

- It’ll take you to the old Document Management Settings in Dynamics 365 CRM. Here, you’ll be able to select the Enable Server-Based SharePoint Integration

- The next dialog box will walk you through the steps to enable the SharePoint Integration with your Site. Click Next.

- Now, you’ll be asked if you want to enable for Online or On-premise. In this example, we are looking at Online, hence, Online will be selected and you click Next.

- Further, you’ll be asked what Site should the integration be enabled on.

- It should be the SharePoint Site you want to enable this to, so you can pick it from the SharePoint site itself. Copy the selected URL from your respected SP Site.

And paste it in the box where URL is asked. Then click Next as shown below.
- Final step is to click Finish post the Site is found to be Valid.

- At this point, Documents will be visible on entities.

- But, if you navigate and try to enter Documents, you’ll see the error message saying that Site is missing

This completed the first step of the process. Next step is to enable the entities for SharePoint integration of Documents.
Enable Entities for SharePoint Integration
In this section, once we have enable the Dynamics 365 environment for SharePoint integration, we’ll now enable the entities which we want the Document Integration to be enabled on –
- Now, you’ll need to enable the entities for Document Management

- In this, you have to make enter the URL of the SharePoint Site where you want the Document Library to reside. I’m entering the main SharePoint URL itself and we’ll see where this ends up.
In this, make sure you select the Entities which you want to enable for Document Management.
Most of common Business Entities are pre-selected, you only need to paste the URL of the Site location and you are good to click on Next.
- Next, it’ll ask the structure of the folders that should be created in the SharePoint.
To understand Based on Entity, you can check this – https://d365demystified.com/2018/12/17/based-on-entity-folder-structure-in-d365-sharepoint-online-integration-in-d365/
- Once you click Next based on your selection, you’ll simply be prompted where the Document Locations are being created.
You just need to click OK.
- Further, it’ll process the entities which were initially selected in #2 above.

- In a few moments, this will be completed.
You can simply click finish.
- Once done, you can now check that the error in Account’s Document section is gone and you’ll see that the Documents grid is ready for Documents to be uploaded.

- And here’s the SharePoint Folder Structure created in SharePoint.

- When you navigate and even if you open the grid on the Dynamics 365 record, the folder is created in SharePoint even if you don’t upload anything.

- And for example, you upload a sample Document on the record

- It’ll appear in the Documents tab here.

- And also on the SharePoint library which we just saw

Easy!!
SharePoint Site Structure in Dynamics 365
If you are further curious on what happens in Dynamics 365 and which kind of records are created, here you go –
- The first record to be created in a high-level is SharePoint Site.
Under this, a Document Location record is created.
- And in this Document Location record, a Default Document Location is created which will house the other records

- And in this Document Location record itself (if you open the one marked in the #2 above)
A child Document Location record is created [And this is created when you open the Document tab on the entity record itself]
So, go to the Document Locations in related in the Documents on Default Site 1 itself
- And these are the records under the Child Document Location records.

So this is what happens on a very high-level. 😊
Hope this was helpful! Here are some more Dynamics 365 posts which you might be interested in –
- Dynamics 365 Storage Utilization | Dataverse Storage | Power Platform Admin Center
- Use Hierarchy in Roll Up Fields in Dynamics 365 CRM
- Filter records in a View owned by a Team you are a member of | Dynamics 365 CRM
- Get GUID of the current View in Dynamics 365 CRM JS from ribbon button | Ribbon Workbench
- Dynamics 365 App For Outlook missing on SiteMap in CRM? Use shortcut link [Quick Tip]
- Import lookup referencing records together in Dynamics 365 CRM | [Linking related entity data during Excel Import]
- Mailbox Alerts Hide/Show behavior in Dynamics 365 CRM
- Excel Importing Notes (Annotation) entity in Dynamics 365 CRM
- Enable/Disable the need to Approve Email for Mailboxes in Dynamics 365 CRM CE
- Call Azure Function from Dynamics 365 CRM using Webhooks
- Show Ribbon button only on record selection in Dynamics CRM
- Accessing multiple occurrences of a field in Business Process Flow using JS in D365 CRM
Thank you!!
Hi Priyesh,
do we need any specific security role to delete the documents from CRM ?
LikeLike