Read Excel File from SharePoint Online and create Records in Dataverse | Power Automate Flow

One of the most common scenarios is to be able to pick an Excel spreadsheet from a SharePoint Document location and create records in Dataverse.

There are several ways to do this. But, one of the most common scenarios could be to use Power Automate Flow and use Excel Online and SharePoint Online connectors to perform this operation!

Scenario

Here’s the scenario which you can expand on and fit the same according to your Use Case –

  1. There’s a file in a SharePoint Document location called as AccountImport.

  2. This file has some Account information that needs to be inserted in Dataverse
    Here’s the Excel content which has a Table in it.


  3. And this data needs to be Inserted in Dataverse [You can either Automate this Flow, Make it On Demand — based on whatever is suitable for you]


    Let’s create an On-Demand Flow in order to pick this File and then insert into Dataverse.

Power Automate Flow

Here’s the Power Automate Flow which we’ll create. For the same of this example and to keep it simple, we’ll create an On-Demand Flow –

  1. Create an On-Demand Flow in Power Automate [You could even choose to run the Flow when a SharePoint file is created or changed or even to Run the Flow once every day — depending on what best suits your case]
    Then, look for the action called as List rows present in a table from Excel Online connector

  2. In this Action, you can select what SharePoint Site is to be selected where you have the File in the Document Location.
    Also, then select the Document Library where the Documents reside. That’s the ideal place where you would want to place your Documents.
    Finally, select the File itself by navigating from the Folder icon on the File property as shown below.


    And then select the File once you find it.

  3. Once you have selected the File, the Table itself will be available to pick up from the Table property. Make sure to convert the Excel data into a Table.

  4. Now, once all the Properties are set on the List rows present in a table action, select a For Each loop in the Flow.
    And in the Inputs, give value (List of Items) from the List rows present in a table action which we just completed above.
  5. Once this is set, select Add a new row action from the Dataverse connector in order to create the records sequentially in Dataverse.

  6. Here, map the Columns to the fields in Dataverse. Firstly, select the Table in Dataverse you want to insert these records into.
    Then, select the fields from the Excel which the Excel connector itself separated out for you.

  7. Once you complete all the Fields from the Excel to the Dataverse connector.
    Save and Test the connector itself.
    This will create the records in Dataverse (Dynamics CRM)


    And it’ll Run in a few moments and succeed if everything goes right.


Dataverse Records

Now, let’s see the Flow in action –

  1. Because this is an on-demand Flow, you can Run it whenever you want. And when it Runs successfully, records in the Dataverse will be created as shown below


Hope this helps!

Here are some Power Automate posts you want to check out –

  1. Select the item based on a key value using Filter Array in Power Automate
  2. Select values from an array using Select action in a Power Automate Flow
  3. Blocking Attachment Extensions in Dynamics 365 CRM
  4. Upgrade Dataverse for Teams Environment to Dataverse Environment
  5. Showing Sandbox or Non Production Apps in Power App mobile app
  6. Create a Power Apps Per User Plan Trial | Dataverse environment
  7. Install On-Premise Gateway from Power Automate or Power Apps | Power Platform
  8. Co-presence in Power Automate | Multiple users working on a Flow
  9. Search Rows (preview) Action in Dataverse connector in a Flow | Power Automate
  10. Suppress Workflow Header Information while sending back HTTP Response in a Flow | Power Automate
  11. Call a Flow from Canvas Power App and get back response | Power Platform
  12. FetchXML Aggregation in a Flow using CDS (Current Environment) connector | Power Automate
  13. Parsing Outputs of a List Rows action using Parse JSON in a Flow | Common Data Service (CE) connector
  14. Asynchronous HTTP Response from a Flow | Power Automate
  15. Validate JSON Schema for HTTP Request trigger in a Flow and send Response | Power Automate
  16. Converting JSON to XML and XML to JSON in a Flow | Power Automate

Thank you!

Upload documents more than 50MB to SharePoint in Dynamics 365 | Quick Tip

Currently, Dynamics 365 SharePoint Integration document limit is 50MB.

And if you try to upload a Document greater than 50MB, it’ll give you the below error –

So here’s what they mean by directly uploading to SharePoint, in case you are new to Dynamics and don’t know if you can access SharePoint directly from Dynamics.

Quick Tip

Here’s how you can upload larger files greater than 50MB –

  1. In the Documents tab, you’ll see the

  2. This will take you to the SharePoint location in the new tab which this Document folder points to –

  3. And you can choose to upload your file –

  4. And your file will be uploaded even if it’s larger than 50MB

  5. And the same will be reflected in Dynamics’ Document grid on the record as well.

Hope this was helpful! Here are some more Dynamics 365 posts which you might be interested in –

  1. Enable SharePoint Online integration Dynamics 365 | Power Platform Admin Center
  2. Dynamics 365 Storage Utilization | Dataverse Storage | Power Platform Admin Center
  3. Use Hierarchy in Roll Up Fields in Dynamics 365 CRM
  4. Filter records in a View owned by a Team you are a member of | Dynamics 365 CRM
  5. Get GUID of the current View in Dynamics 365 CRM JS from ribbon button | Ribbon Workbench
  6. Dynamics 365 App For Outlook missing on SiteMap in CRM? Use shortcut link [Quick Tip]
  7. Import lookup referencing records together in Dynamics 365 CRM | [Linking related entity data during Excel Import]
  8. Excel Importing Notes (Annotation) entity in Dynamics 365 CRM
  9. Enable/Disable the need to Approve Email for Mailboxes in Dynamics 365 CRM CE
  10. Call Azure Function from Dynamics 365 CRM using Webhooks
  11. Show Ribbon button only on record selection in Dynamics CRM
  12. Accessing multiple occurrences of a field in Business Process Flow using JS in D365 CRM

Thank you!!

Enable SharePoint Online integration Dynamics 365 | Power Platform Admin Center

In this post, I will highlight on how you can enable SharePoint Online Document Integration with Dynamics 365 CRM and how these records are structured in SharePoint as well as Dynamics CRM.

Hope this post covers it for you to get started with Dynamics 365 SharePoint Online Integration! 😊

Pre-requisites

Here are the pre-requisites you need to make sure you can enable SharePoint Online integration with Dynamics 365 CE/CRM.

  1. With Dynamics 365 Online, you’ll also need SharePoint Online plan as well which is available with M365/O365 Plans. Example: E3

  2. Also, make sure you are Dynamics 365 Admin as well as SharePoint Admin as well. In case you happen to the be Global Administrator, even better! 😊

Before enabling SharePoint Integration

Before we enable SharePoint Integration, notice that Documents is not shown in related records under entities like Accounts, for example.


Power Platform Admin Center

You can visit Power Platform Admin Center (https://admin.powerplatform.microsoft.com/environments) to enable SharePoint Integration

  1. Navigate to Power Platform Admin Center (https://admin.powerplatform.microsoft.com/environments) and then to the environment with which you want to enable the SharePoint Online integration with –
    Then, go the to Settings of the Organization –

  2. Under the Integration section, navigate to Document management settings

  3. It’ll take you to the old Document Management Settings in Dynamics 365 CRM. Here, you’ll be able to select the Enable Server-Based SharePoint Integration

  4. The next dialog box will walk you through the steps to enable the SharePoint Integration with your Site. Click Next.

  5. Now, you’ll be asked if you want to enable for Online or On-premise. In this example, we are looking at Online, hence, Online will be selected and you click Next.

  6. Further, you’ll be asked what Site should the integration be enabled on.

  7. It should be the SharePoint Site you want to enable this to, so you can pick it from the SharePoint site itself. Copy the selected URL from your respected SP Site.


    And paste it in the box where URL is asked. Then click Next as shown below.

  8. Final step is to click Finish post the Site is found to be Valid.


  9. At this point, Documents will be visible on entities.

  10. But, if you navigate and try to enter Documents, you’ll see the error message saying that Site is missing

    This completed the first step of the process. Next step is to enable the entities for SharePoint integration of Documents.

Enable Entities for SharePoint Integration

In this section, once we have enable the Dynamics 365 environment for SharePoint integration, we’ll now enable the entities which we want the Document Integration to be enabled on –

  1. Now, you’ll need to enable the entities for Document Management


  2. In this, you have to make enter the URL of the SharePoint Site where you want the Document Library to reside. I’m entering the main SharePoint URL itself and we’ll see where this ends up.
    In this, make sure you select the Entities which you want to enable for Document Management.
    Most of common Business Entities are pre-selected, you only need to paste the URL of the Site location and you are good to click on Next.

  3. Next, it’ll ask the structure of the folders that should be created in the SharePoint.
    To understand Based on Entity, you can check this – https://d365demystified.com/2018/12/17/based-on-entity-folder-structure-in-d365-sharepoint-online-integration-in-d365/

  4. Once you click Next based on your selection, you’ll simply be prompted where the Document Locations are being created.
    You just need to click OK.

  5. Further, it’ll process the entities which were initially selected in #2 above.

  6. In a few moments, this will be completed.
    You can simply click finish.

  7. Once done, you can now check that the error in Account’s Document section is gone and you’ll see that the Documents grid is ready for Documents to be uploaded.

  8. And here’s the SharePoint Folder Structure created in SharePoint.


  9. When you navigate and even if you open the grid on the Dynamics 365 record, the folder is created in SharePoint even if you don’t upload anything.

  10. And for example, you upload a sample Document on the record

  11. It’ll appear in the Documents tab here.

  12. And also on the SharePoint library which we just saw

    Easy!!

SharePoint Site Structure in Dynamics 365

If you are further curious on what happens in Dynamics 365 and which kind of records are created, here you go –

  1. The first record to be created in a high-level is SharePoint Site.
    Under this, a Document Location record is created.

  2. And in this Document Location record, a Default Document Location is created which will house the other records

  3. And in this Document Location record itself (if you open the one marked in the #2 above)
    A child Document Location record is created [And this is created when you open the Document tab on the entity record itself]
    So, go to the Document Locations in related in the Documents on Default Site 1 itself

  4. And these are the records under the Child Document Location records.

    So this is what happens on a very high-level. 😊

Hope this was helpful! Here are some more Dynamics 365 posts which you might be interested in –

  1. Dynamics 365 Storage Utilization | Dataverse Storage | Power Platform Admin Center
  2. Use Hierarchy in Roll Up Fields in Dynamics 365 CRM
  3. Filter records in a View owned by a Team you are a member of | Dynamics 365 CRM
  4. Get GUID of the current View in Dynamics 365 CRM JS from ribbon button | Ribbon Workbench
  5. Dynamics 365 App For Outlook missing on SiteMap in CRM? Use shortcut link [Quick Tip]
  6. Import lookup referencing records together in Dynamics 365 CRM | [Linking related entity data during Excel Import]
  7. Mailbox Alerts Hide/Show behavior in Dynamics 365 CRM
  8. Excel Importing Notes (Annotation) entity in Dynamics 365 CRM
  9. Enable/Disable the need to Approve Email for Mailboxes in Dynamics 365 CRM CE
  10. Call Azure Function from Dynamics 365 CRM using Webhooks
  11. Show Ribbon button only on record selection in Dynamics CRM
  12. Accessing multiple occurrences of a field in Business Process Flow using JS in D365 CRM

Thank you!!

Launch URL on a Data Table Text column selection in a Canvas PowerApp | SharePoint Lists

Let’s say you are using SharePoint Lists to populate your Data Table in a Canvas Power App. And you have a Text column which could be typically name of the Website and another column could be a URL.

Now, you want to be able to click the Name of the Website and the selection should take you to the Website itself.

Scenario

Now, below is the Blog List in SharePoint you are populating your Data Table in a Canvas App with.

Now, I’ll use the above list to populate the Data Table to only show the Title in the Data Table and make the names clickable so that the URL of these Website names should be navigated to when you click them

Data Table column

  1. Firstly, the Names of the Blogs will appear in Plain Text because in SharePoint, this field is of Type plain text.


  2. In order to convert them to hyperlink, select the column as shown below


    And then, on the right hand side in Table Column Properties, turn on the Is hyperlink flag to On

  3. Now, the names will be clickable

Now, these Titles should be clickable and navigate to the URL which is mentioned for each of these Website Names.

OnSelect property and Launch Function

  1. Every Data Table column has an OnSelect property which you can set.

  2. Now, you can use the Launch() function to launch a URL which in this case will launch/open the data from the URL column of the Data Table (which we have not displayed anywhere in the Data Table)


    Now, here’s what the above Formula is set as
    Launch() will accept Text values. The “BlogList Data Table” is the name of the Data Table we are using i.e. the SharePoint List.
    .Selected will consider the Row we will click/select.
    And URL is the name of the column where the URL resides.
    Hence, it’ll Launch the URL we specified again each website name.

Working

When you open the App, and click on the name of the Site


Hope this was useful!!

Here are some more Canvas Power Apps posts you might want to check out

  1. Aggregate functions in a Canvas Power App | Using on SharePoint Lists
  2. Count of total CDS records returned in a Canvas Power App connection [Quick Tip]
  3. Dependent OptionSets in a Canvas Power App for 1:N related CDS entities | Power Platform
  4. Restore older version of a Canvas Power App | Power Platform
  5. Implement character length validation in a Canvas Power App | Power Platform
  6. Logged In User details in a Canvas Power App
  7. Implementing Exit app, Logout and Confirm Exit features in a Canvas Power App
  8. Variables in Canvas Power Apps | Global and Context
  9. Get N:N records in a Canvas Power App using Common Data Service connector | Power Platform
  10. Adding a Canvas PowerApp to Teams

Thank you!


Create your first PowerApp! Connect to SharePoint Online List

PowerPlatform is the next big thing in

PowerApps comes with several Dynamics 365 licenses and make sure you have been assigned one as well as below –
license

Navigate to https://web.powerapps.com/ to go to the Admin Center and here you can simply start working on your first app.

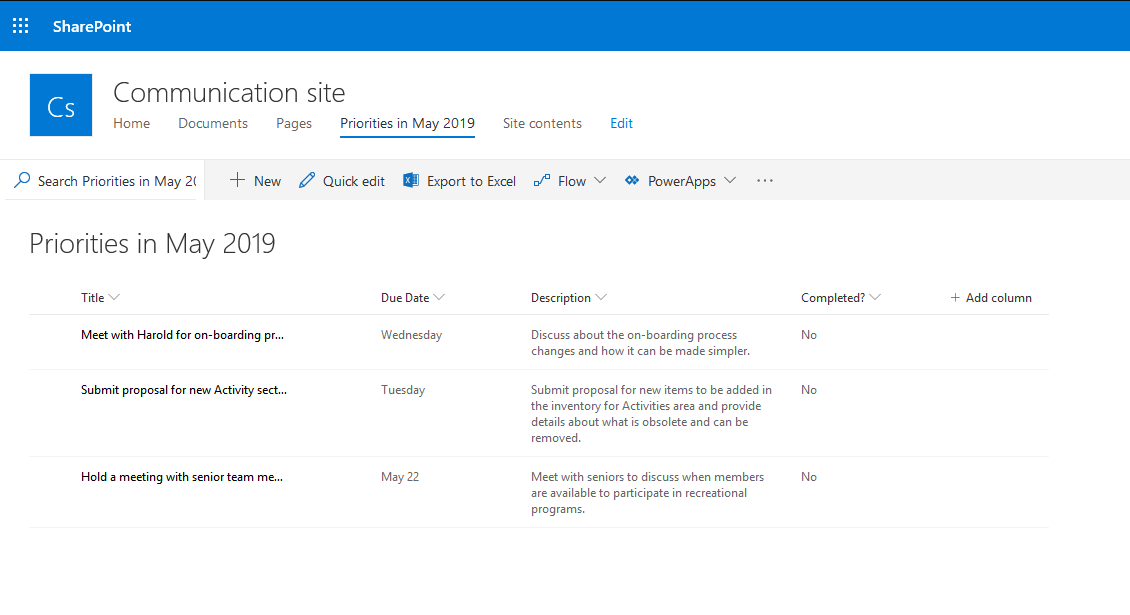
In this scenario, I want to be able to read from my SharePoint Online list and make decisions based on what data is in the List
spList

Build your PowerApp from data

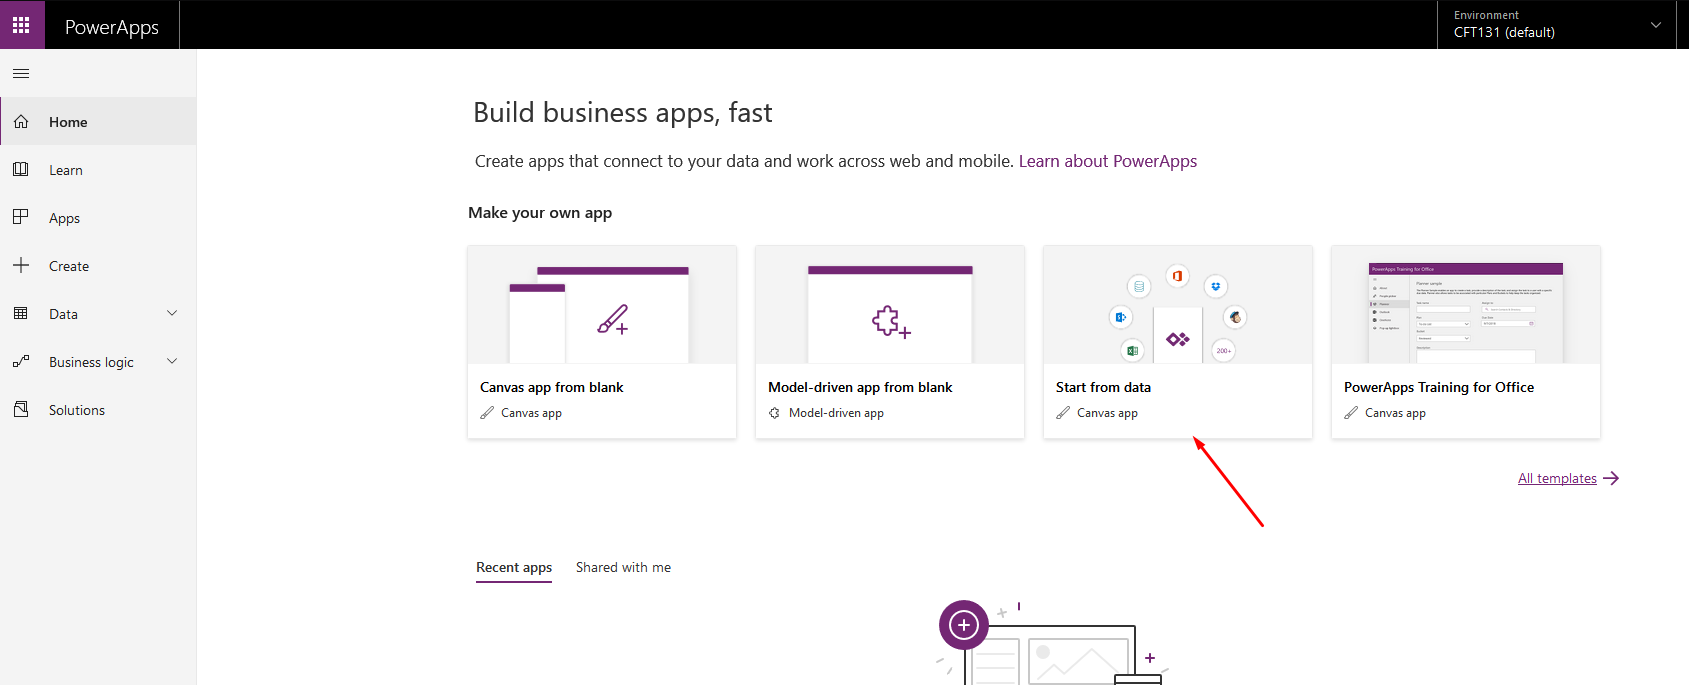
  1. Among the options to create your app from either Canvas or Model-driven, I’ll chose to build one based on data which is a Canvas type of application.
    startFromData
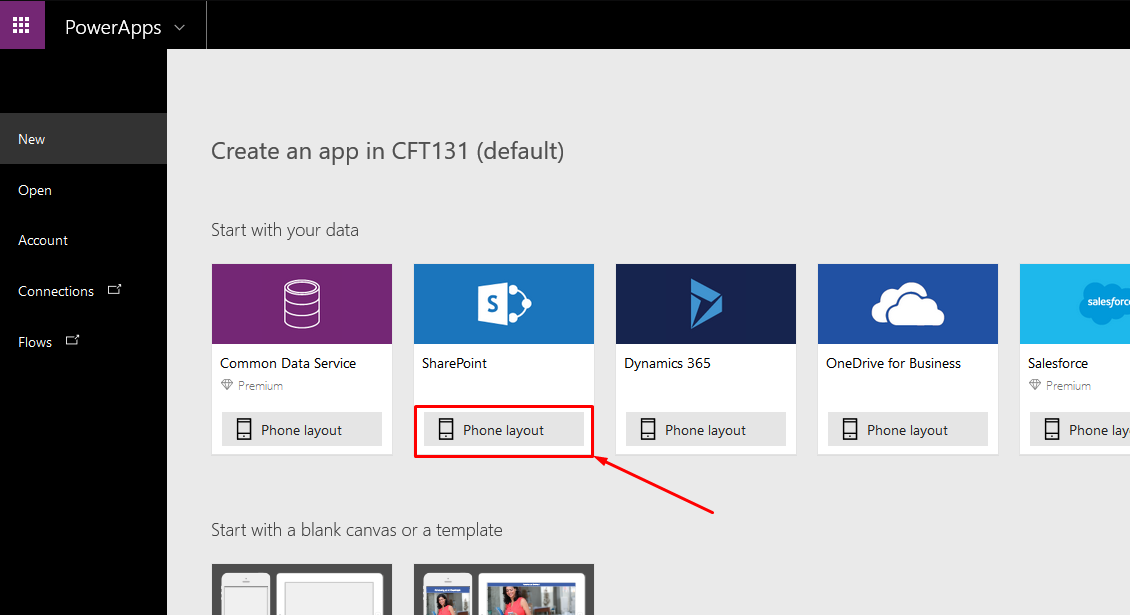
  2. Now, I’ll chose SharePoint’s Phone layout since I want to connect to my SharePoint Online site to be able to read from my lists
    selectSPApp
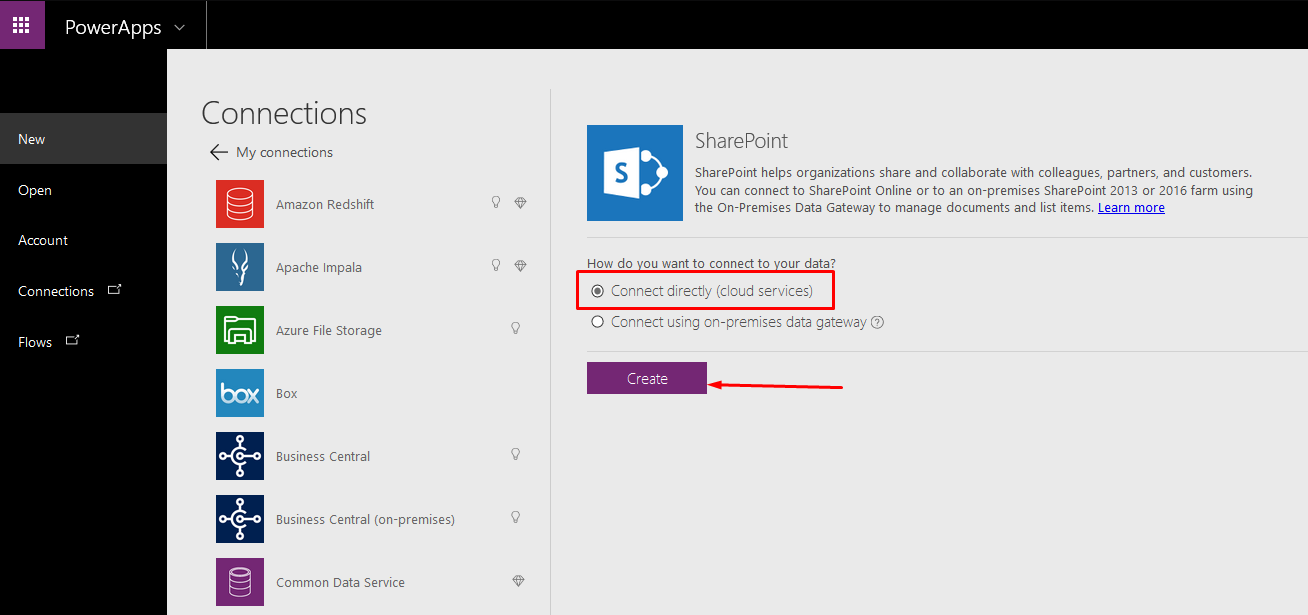
  3. Now, since I already have selected SharePoint connector, I’ll be creating a new connection on the next page.
    createSPConnection
    Since this example is for SharePoint Online, I’ll select Connect directly (cloud services).
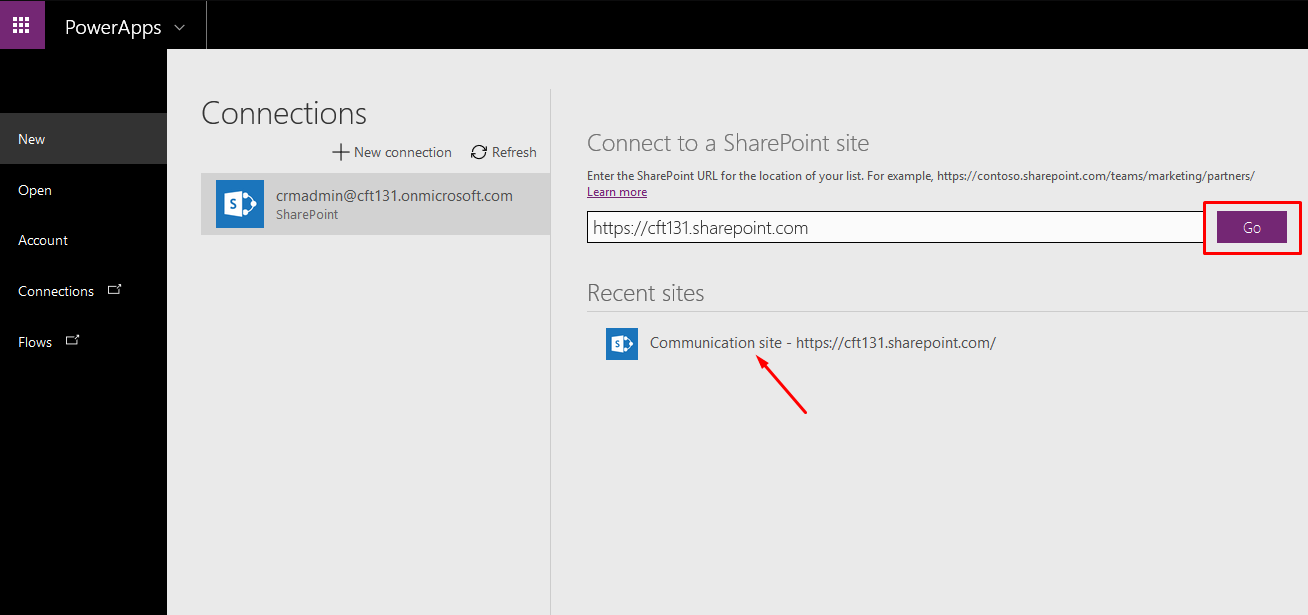
  4. Now, since I already had accessed the SharePoint Site, it appears in my list. You can either connect to a new Site from + New Connection button on the left-hand side or enter a new SharePoint Site in the URL and click GO. Or even select a recently visited one like I did –
    selectSPSiteFromRecent
  5. Then, choose your list
    chooseList
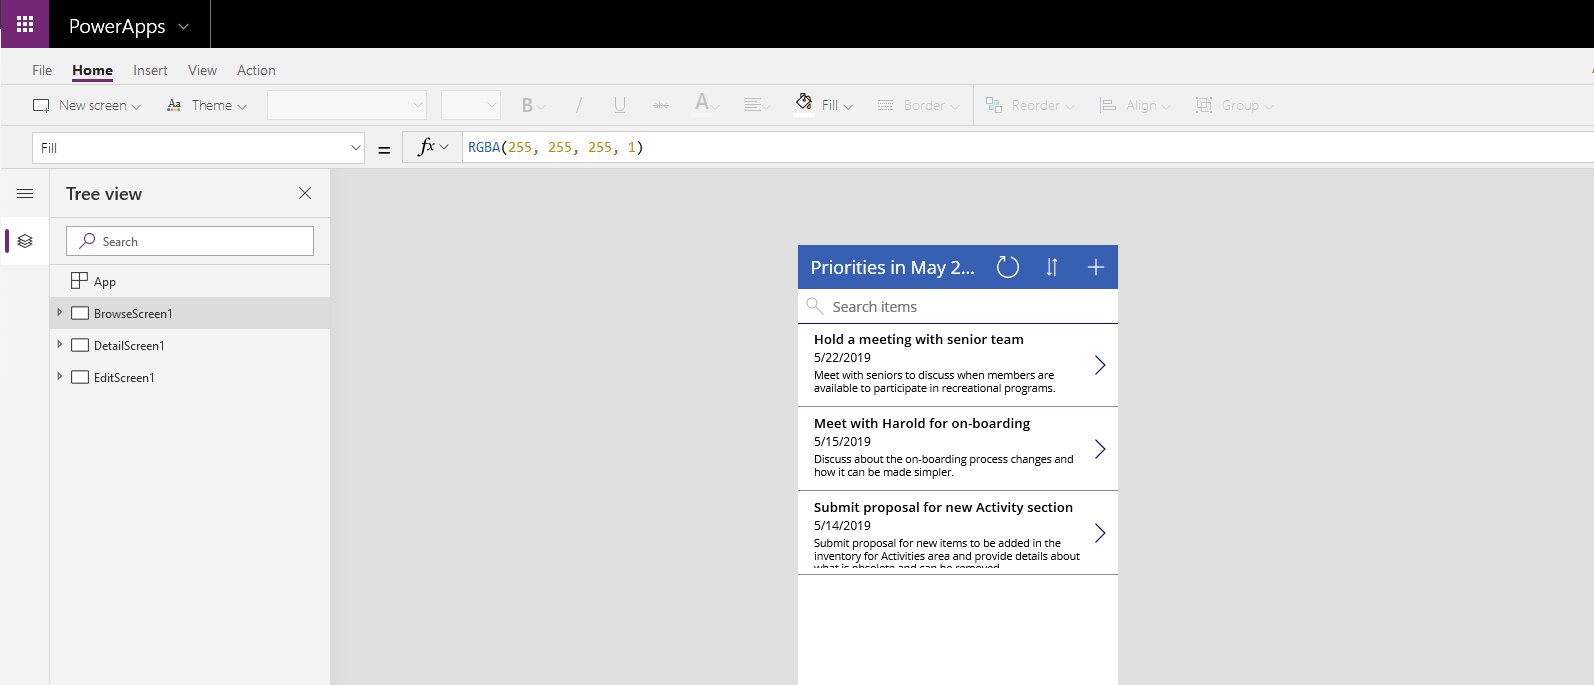
  6. And it takes a few moments to build out your App. And when it’s ready to be worked on, here’s what you get.
    appIsReady

Understanding your App Designer space

Won’t be covering much details on what each tool does, but wanted to share how things are placed –

  1. On the left-hand side, the App pages/components are divided into three main sections. (Obviously, you are free to add and modify more screens as needed)
    defaultTreeView
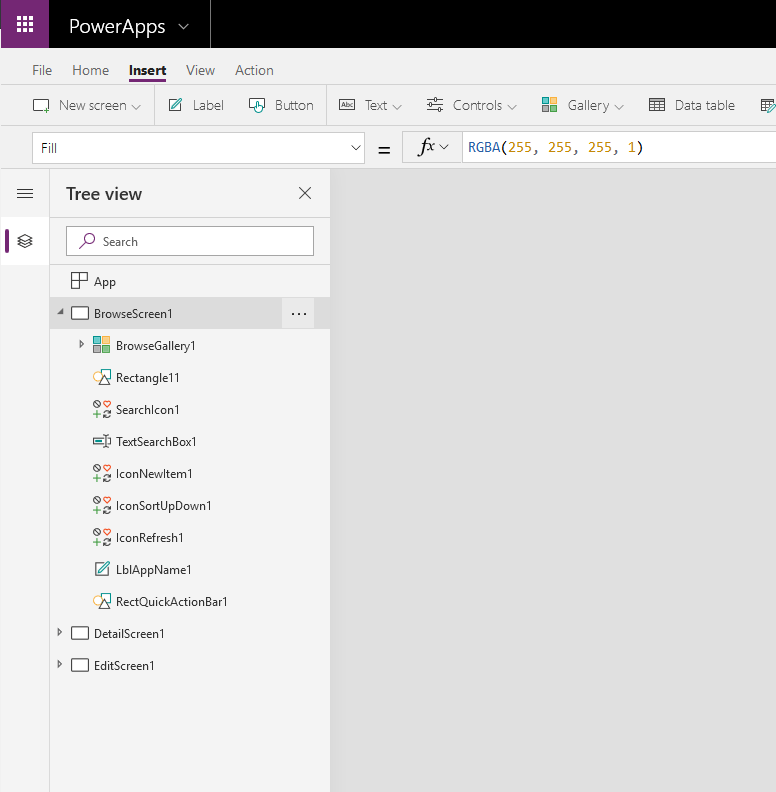
  2. You can add several controls on these screens
    insertTab
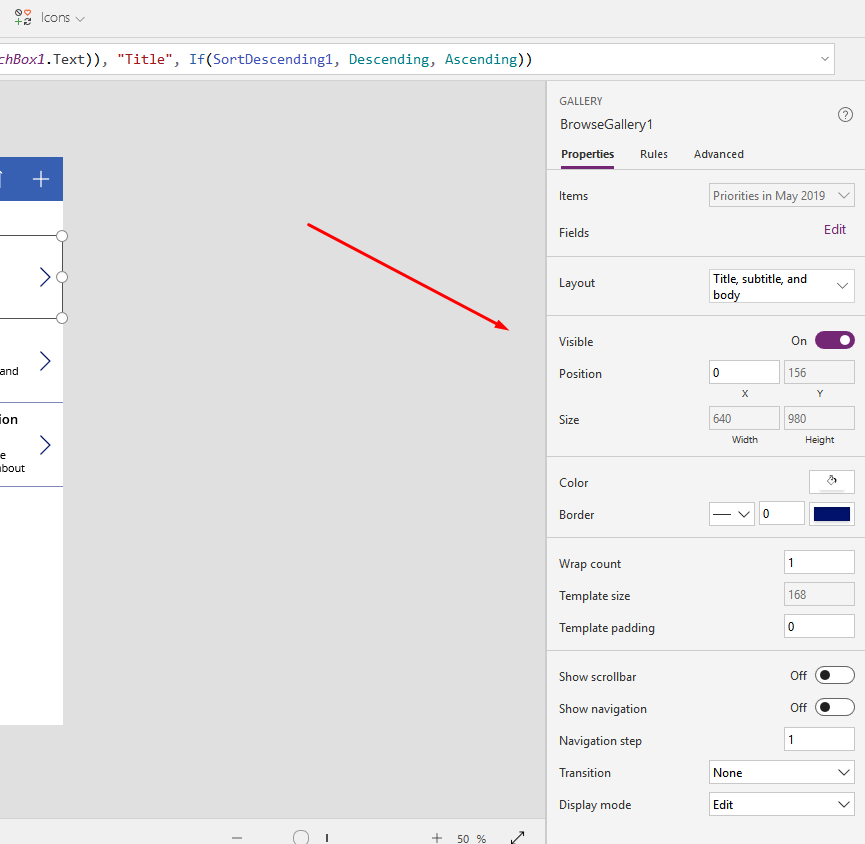
  3. And these controls/components can be adjusted from the right-hand side pane as below
    customizeProperties
  4. That’s basically the most of the App basics you need to know at this point. I’ll post more posts on that later. 🙂

Publishing Your App & Share

Presuming that your app is now ready to go, her’s what you can do in order to publish

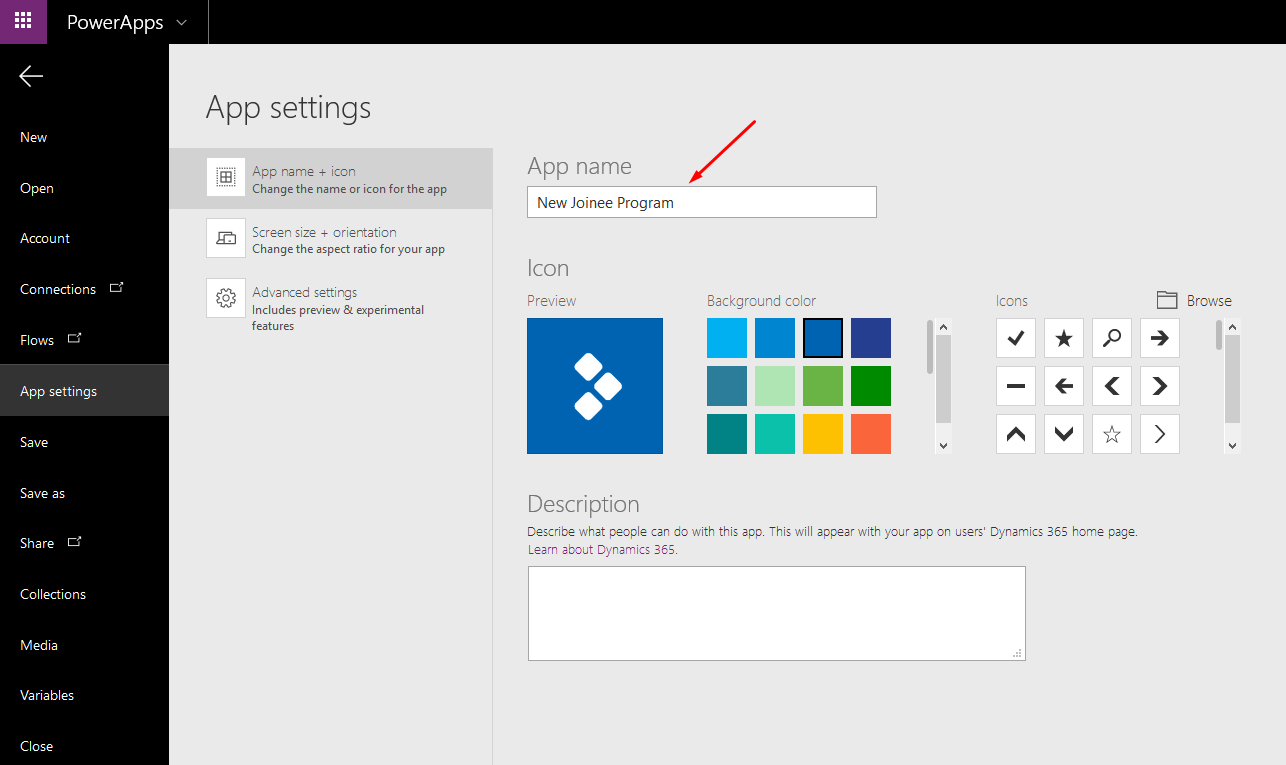
  1. Navigate to File, give a suitable Name to your App.
    appName
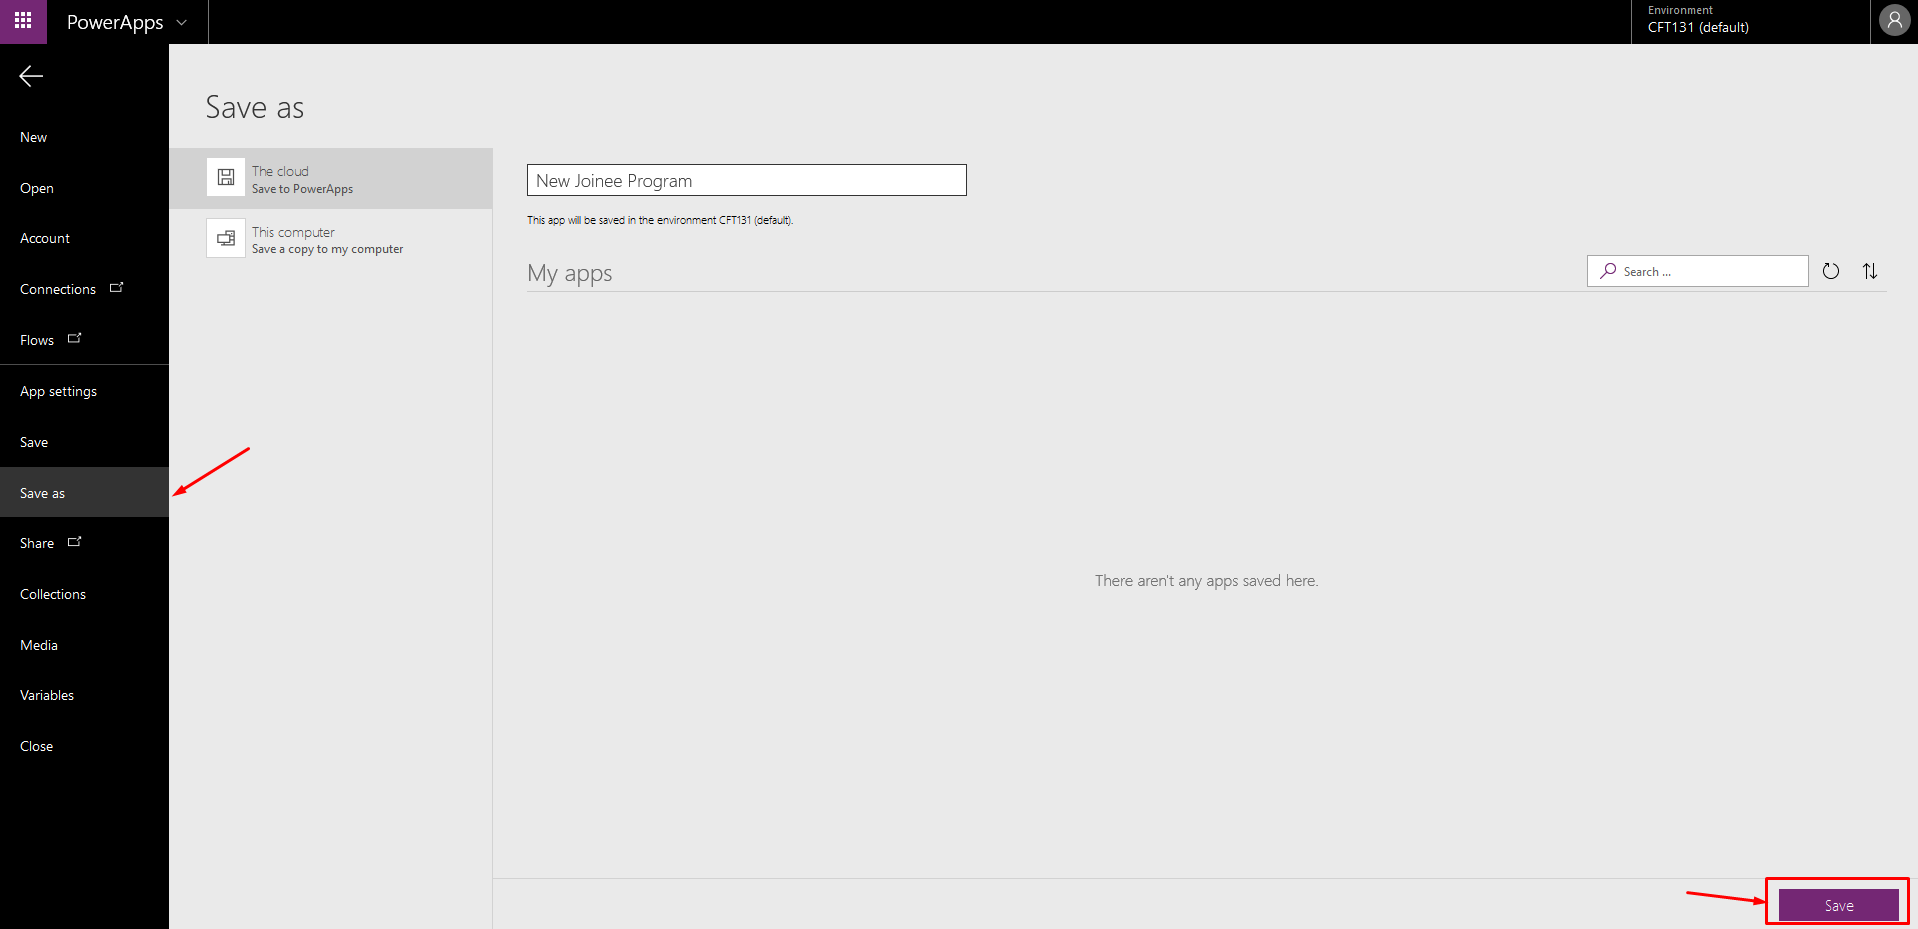
  2. Move over to Save and Save your App.
    saveApp
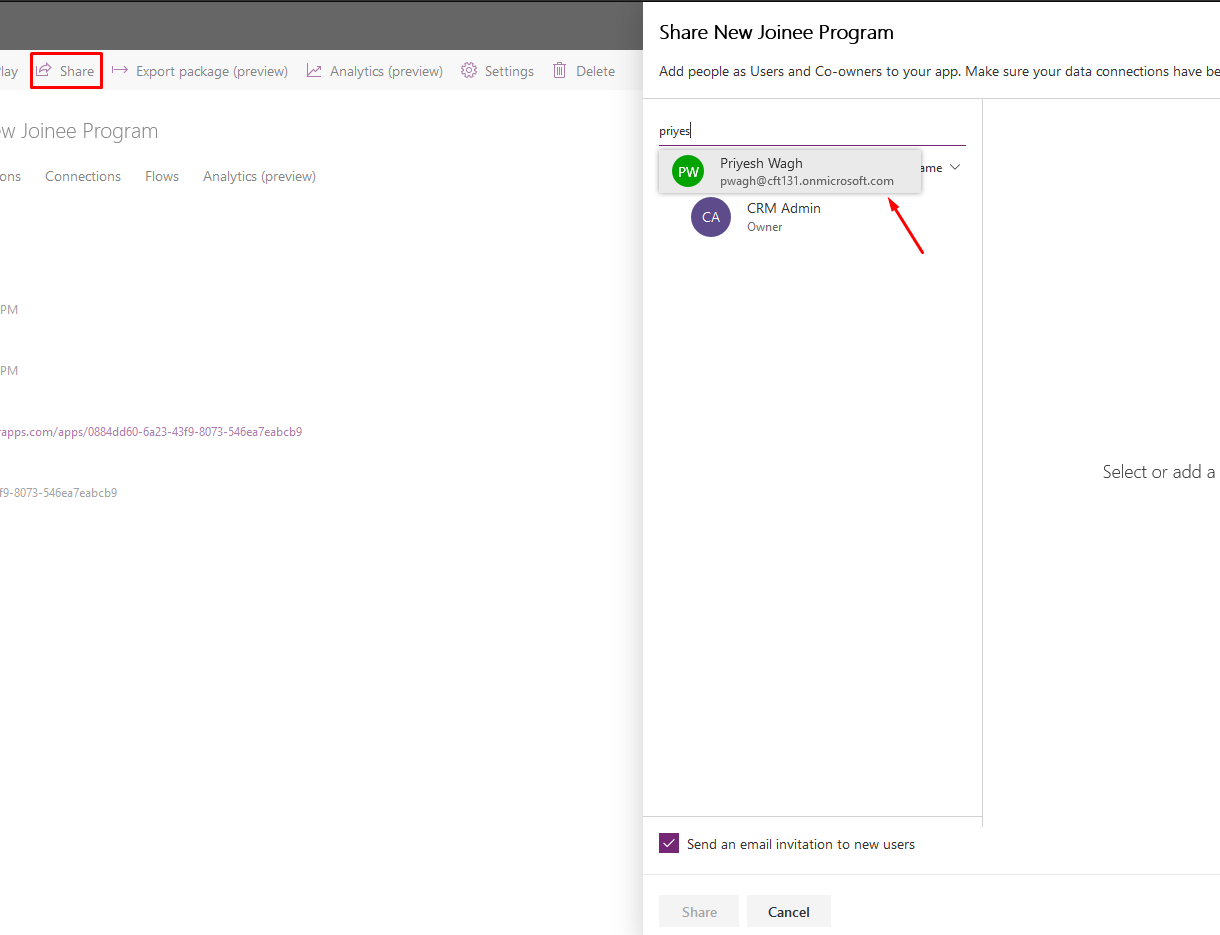
  3. Once Saved, Share the App.
    shareThisApp
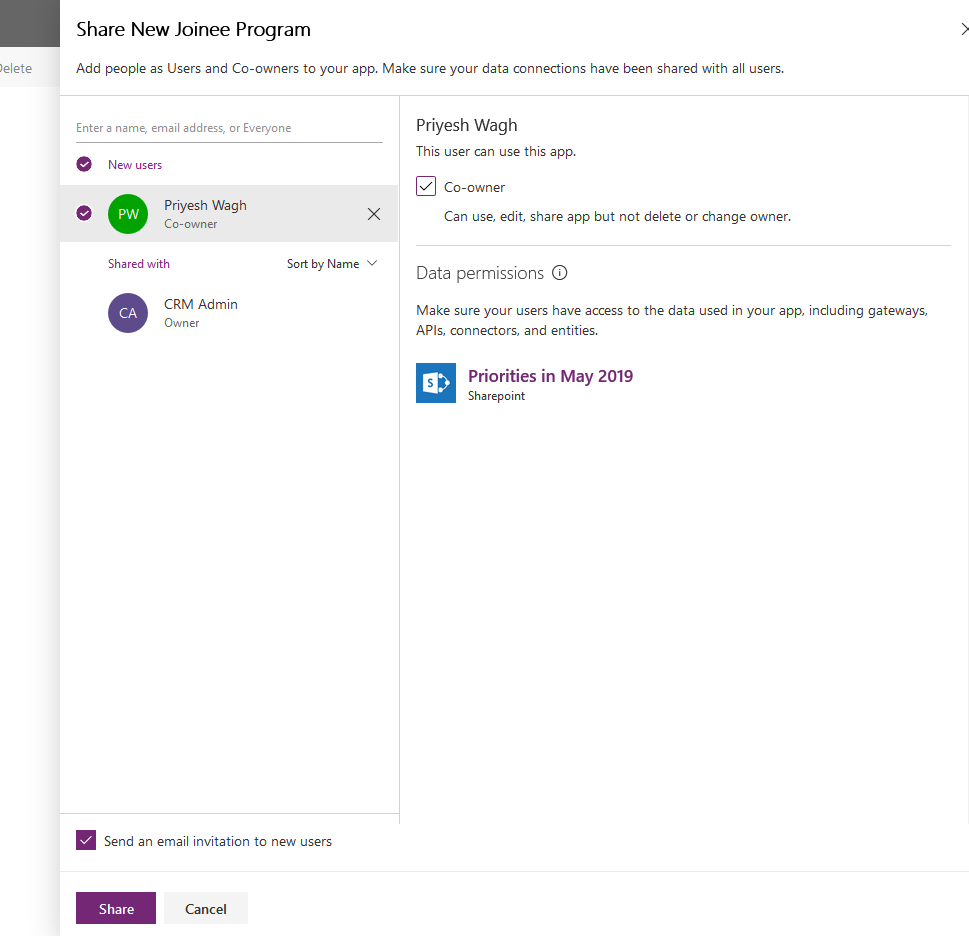
  4. Once you click on Share, you can get to Add users who will have access to this App and you can chose their permission level.
    shareWithUser
    permissionSelection

Running your first PowerApp

Assuming you have installed PowerApps on your device and logged in with your credentials, you’ll see the App as below

And you can start working on your App already

Hope this was quick. And then there’s a tremendous lot to be done with PowerApps and leveraging the PowerPlatform!

‘Based on entity’ folder structure in D365 SharePoint Online Integration

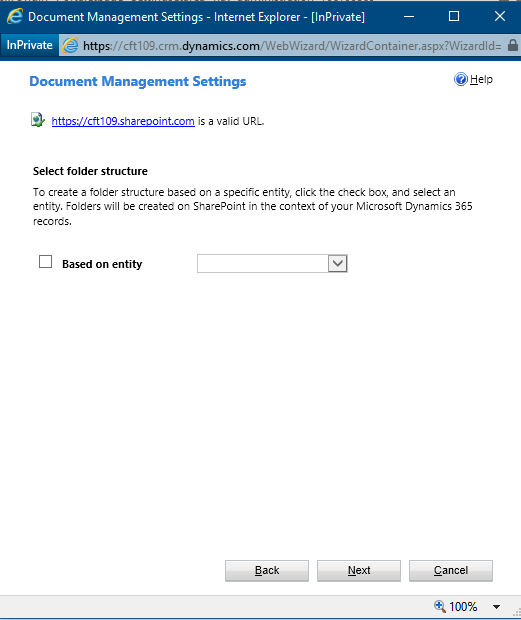
When you configure SharePoint Online integration for your D365 entities, while setting up, you see an option to either proceed to enable feature based on entity or not.

featuredImage

And you’re not sure what it means. Let’s quickly see that it stands for.

I assume you know that you’ll need to go to Settings > Document Management > Document Management Settings to enable SharePoint integration for selected entities.

DocManagement

Now, let’s look at the difference between them.

Folder Structure based on Entity

When you select based on Entity, you get 2 options – Account and Contact. There’s no more options.

basedOnEntity

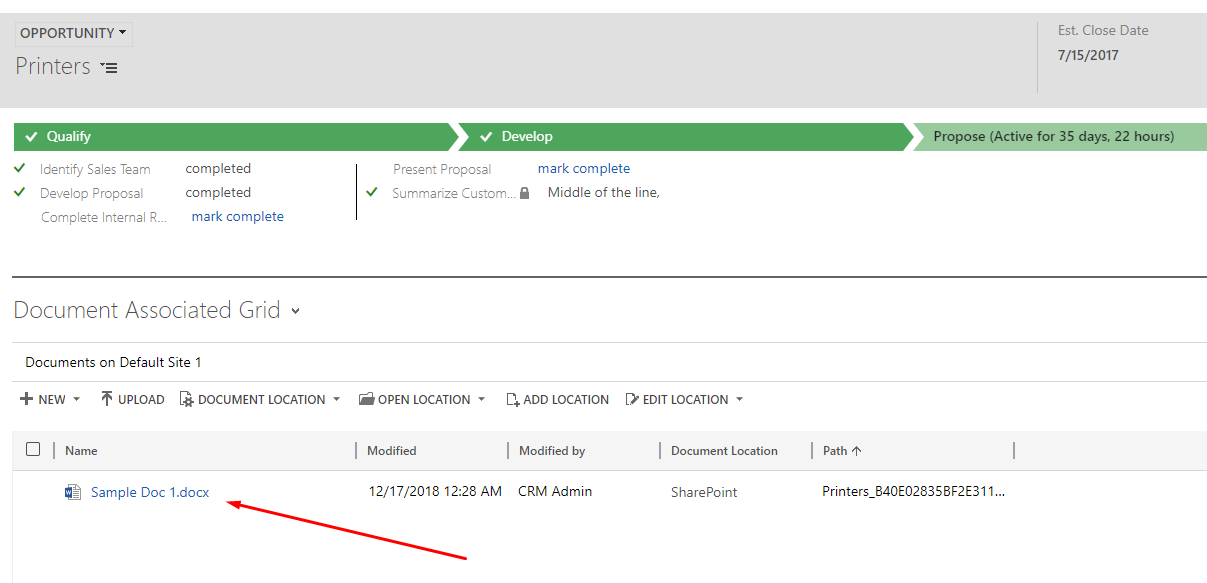
Now, when the above is setup and when you put documents under an Opportunity, see below how the documents will be stored in SharePoint.

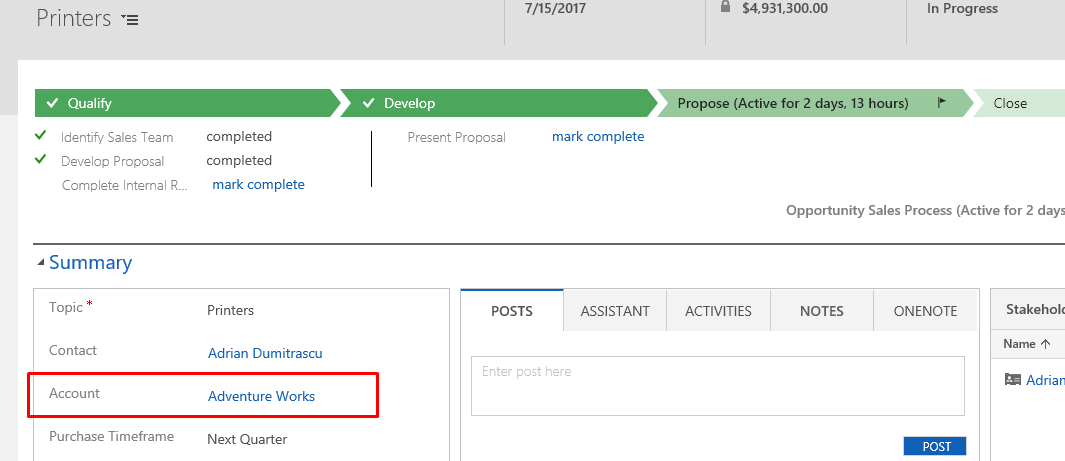
  1. The Opportunity Printers has a parent Account called as ‘Adventure Works’.
    addToOppAnd you add Document to this Opportunity.
    addDocToOpp
  2. When I add documents under Opportunity Printers, on the SharePoint site, it will be like –
    folderStructureAsEntity

Folder Structure Not Based on Entity

Note: I’m doing this in another instance for demo purpose.

notAsEntity

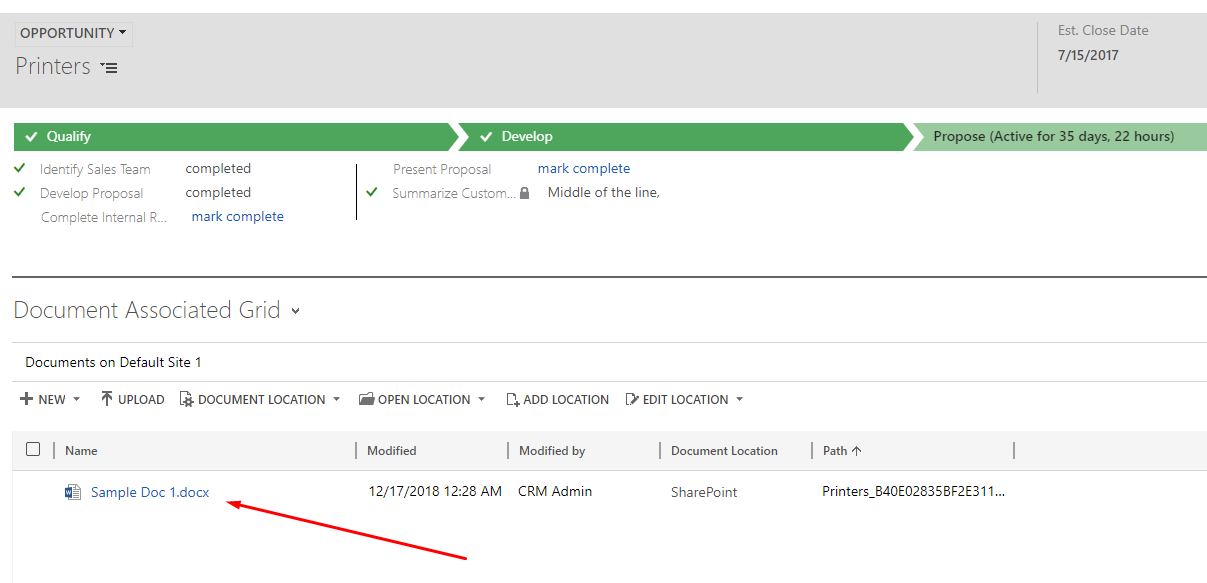
  1. When you don’t select and proceed as is, and you go to the Opportunity Printers and add you Documents to the record as below.
    addDocToOpp2
  2. You can see unlike the one based on Entity, these Documents have Opportunity at the root level and not the Account which is that Opportunities’ parent.
    folderStructureNotAsEntity

Hope that was straight forward!