Here’s how to solve if you see the below error while updating/registering your Plugin assembly in Plugin Registration Toolbox
Here’s how to go about solving the same!
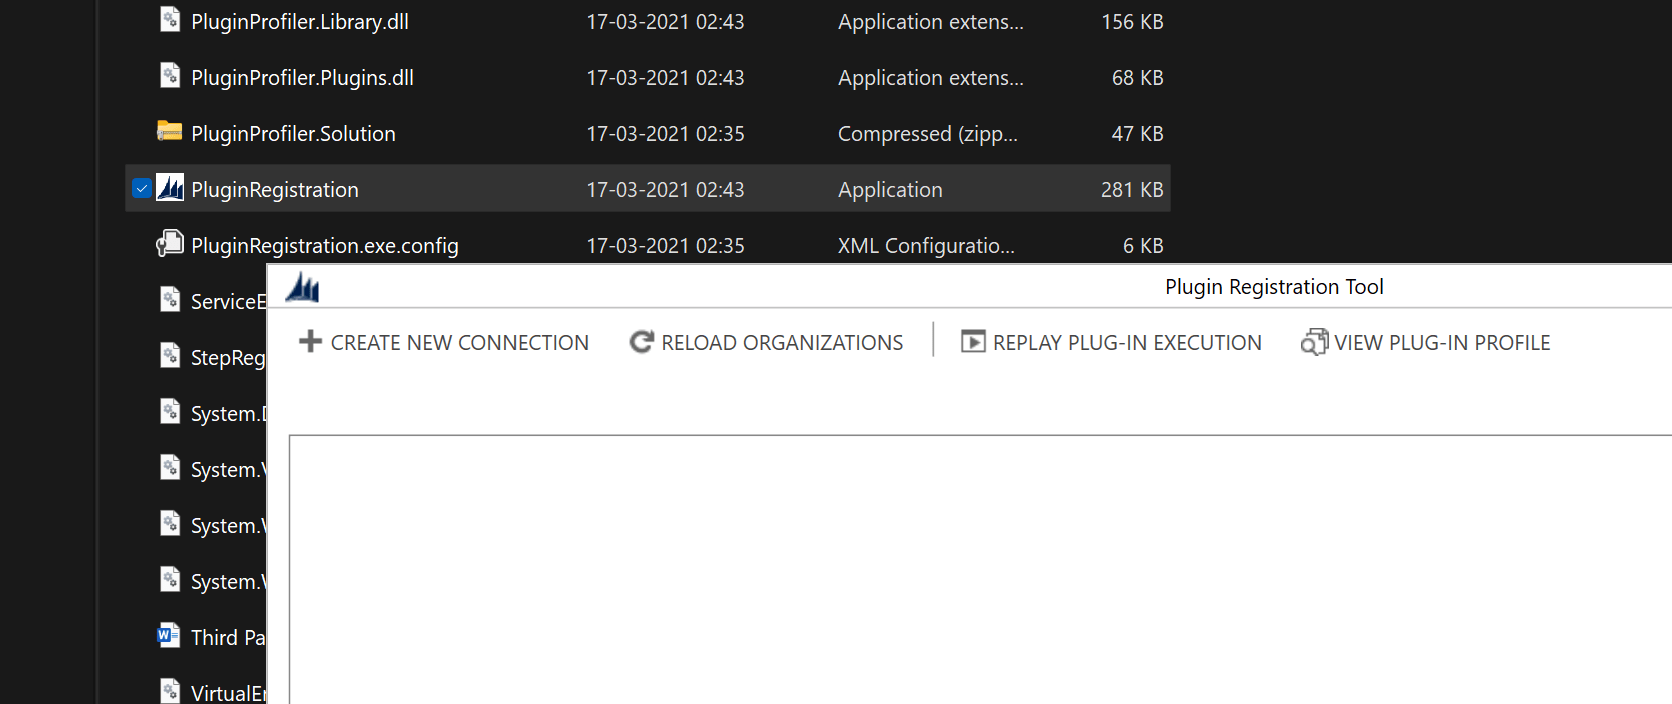
Error while Updating Plugin Assembly
In case you see the above error in Plugin Registration Toolbox, here’s how you can upgrade your Project in Visual Studio to compile using the correct .NET Framework version as suggested in the error –
- Go to Properties of the Project and look for Application tab

- Now, drop down on the Target Framework and look for the version asked as in the error. At times, it appears that you don’t have it installed on the machine given that you just changed your system, so you need to download it.
Select “Install other frameworks…”
- You’ll be redirected to this page (unless there’s a change in the future) – https://dotnet.microsoft.com/en-us/download/visual-studio-sdks?cid=getdotnetsdk
And you can find the right Framework once you look for it. In this case, I need 4.7.1 version.
- Save the file and install once download.

- Once you begin to install, it’ll go about the same way as any other installer.

And you’ll see this will be installed quickly [within few moments]
- Once done, close and restart Visual Studio and then again check the Applications section in Project’s Properties.
You’ll see the installed version appear there.
- And once you select it, it’ll ask before applying this framework.

- Click Yes and compile the Assembly again. Once done, you’ll be able to register your plugin on the Plugin Registration Tool successfully.

Hope this helps!
Here are some Power Automate posts you want to check out –
- Select the item based on a key value using Filter Array in Power Automate
- Select values from an array using Select action in a Power Automate Flow
- Blocking Attachment Extensions in Dynamics 365 CRM
- Upgrade Dataverse for Teams Environment to Dataverse Environment
- Showing Sandbox or Non Production Apps in Power App mobile app
- Create a Power Apps Per User Plan Trial | Dataverse environment
- Install On-Premise Gateway from Power Automate or Power Apps | Power Platform
- Co-presence in Power Automate | Multiple users working on a Flow
- Search Rows (preview) Action in Dataverse connector in a Flow | Power Automate
- Suppress Workflow Header Information while sending back HTTP Response in a Flow | Power Automate
- Call a Flow from Canvas Power App and get back response | Power Platform
- FetchXML Aggregation in a Flow using CDS (Current Environment) connector | Power Automate
- Parsing Outputs of a List Rows action using Parse JSON in a Flow | Common Data Service (CE) connector
- Asynchronous HTTP Response from a Flow | Power Automate
- Validate JSON Schema for HTTP Request trigger in a Flow and send Response | Power Automate
- Converting JSON to XML and XML to JSON in a Flow | Power Automate
Thank you!